Showing posts with label cafemom etsy moms. Show all posts
Showing posts with label cafemom etsy moms. Show all posts
Friday, December 3, 2010
Time to VOTE!!
If you are a member of our Cafemom Team, please follow this link and vote for your favorite entry to the Thanksgiving Theme Contest!!

Monday, May 18, 2009
Floral Explosion!
This weeks theme for all this wonderful sunshiney weather we've been having is FLOWERS!
Our winner for Floral Theme was Sassy and Dapper! She won with this amazing Floral Picture Frame!

Check out Sassy and Dapper's Etsy Shop for more handmade goodies!!!
Our winner for Floral Theme was Sassy and Dapper! She won with this amazing Floral Picture Frame!
Check out Sassy and Dapper's Etsy Shop for more handmade goodies!!!
Sunday, April 5, 2009
Cafemom Street Team Welcomes Artfire
Along with all the other Online Selling Venues for Handmade items. Cafemom Street Team is diving into uncharted waters and heading on over to Artfire!
We would like to welcome everyone to join up at our Street Team based on Cafemom.com and then join our NEW guild on Artfire!
Cafemom Streeet Team Guild is new and loves new members! You can find any of our amazing artisans on artfire by searching the tag "CST Guild". And I promise you the talent of these women will simply amaze you!
We would like to welcome everyone to join up at our Street Team based on Cafemom.com and then join our NEW guild on Artfire!
Cafemom Streeet Team Guild is new and loves new members! You can find any of our amazing artisans on artfire by searching the tag "CST Guild". And I promise you the talent of these women will simply amaze you!
Saturday, March 7, 2009
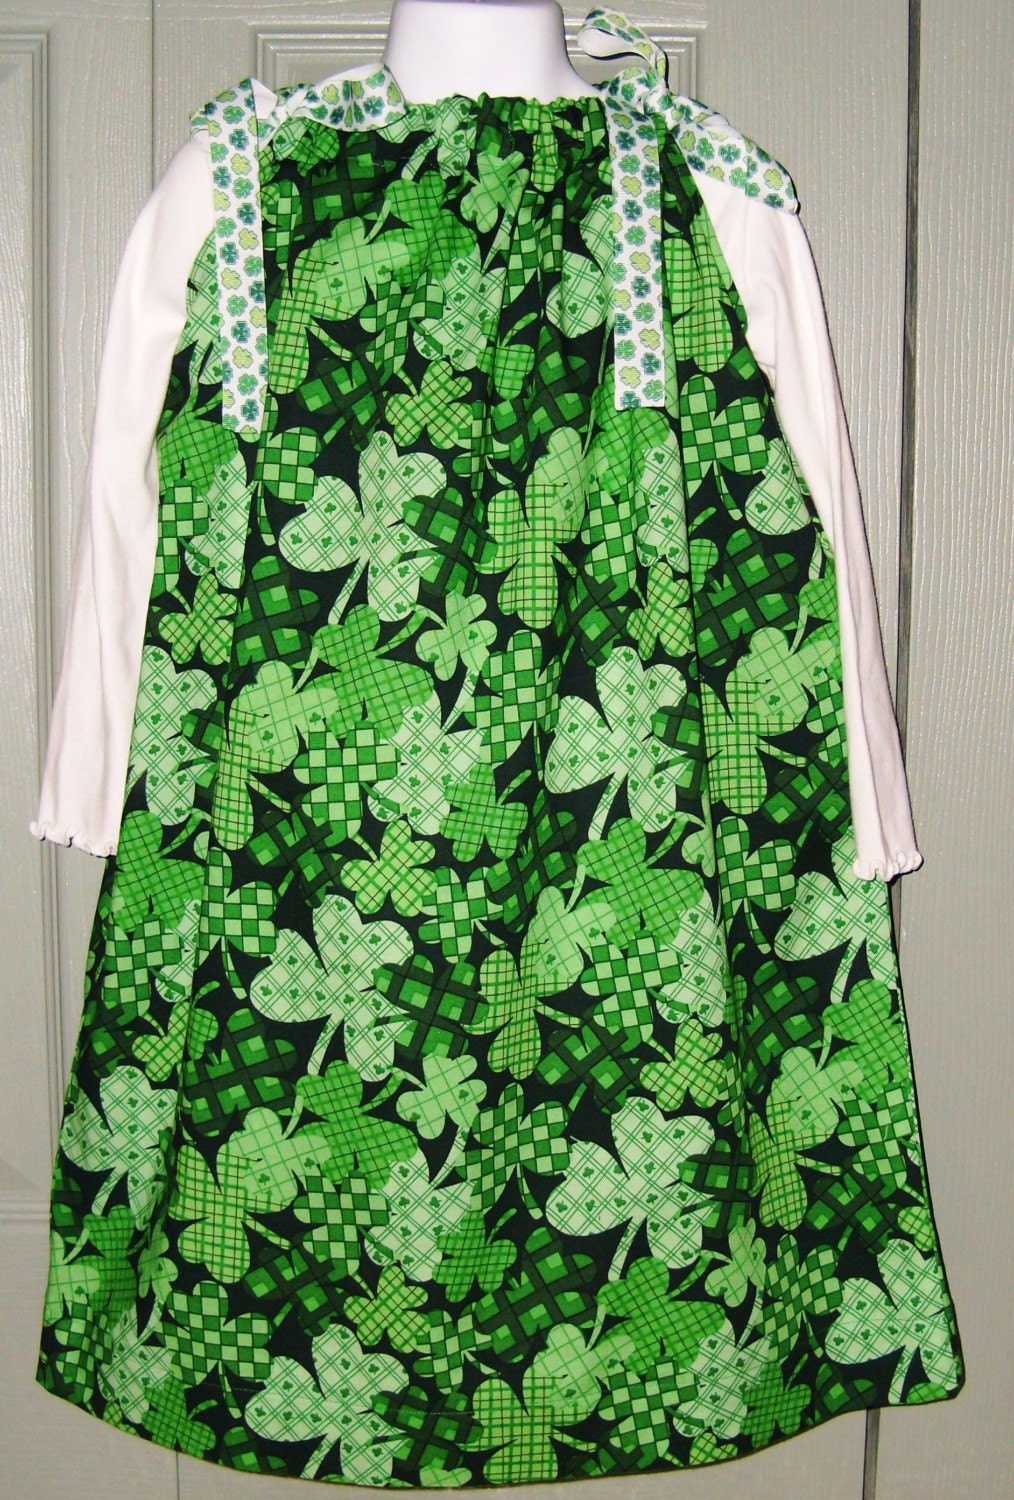
St. Patricks Day Dress and Headband Set!
St Patricks Day headband

Would look great with Cozy's Pillowcase Dress:


Friday, March 6, 2009
Very Pretty ROYGBIV!
pretty things
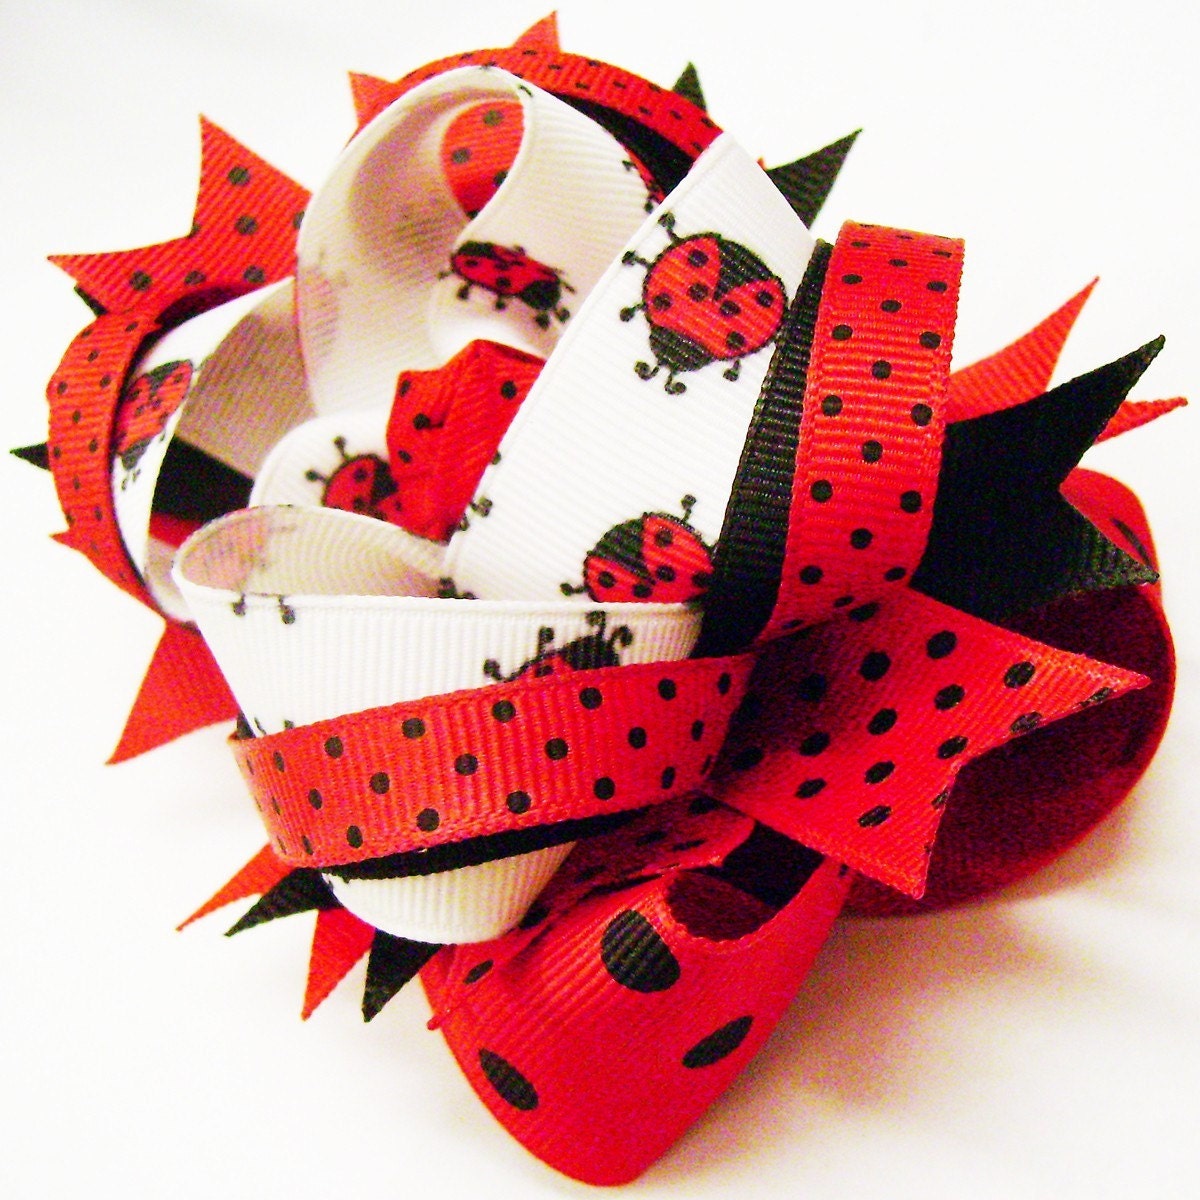
Red: Shelleybeansbowtique http://www.etsy.com/view_listing.php?listing_id=21673808
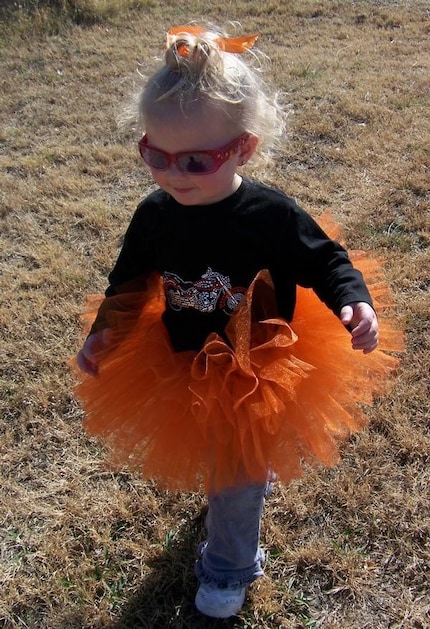
Orange: Mine! Handmade By Ryleigh's Momma http://www.etsy.com/view_listing.php?listing_id=19391596
Yellow: Cosmic Clean Body's http://www.etsy.com/view_listing.php?listing_id=21298124

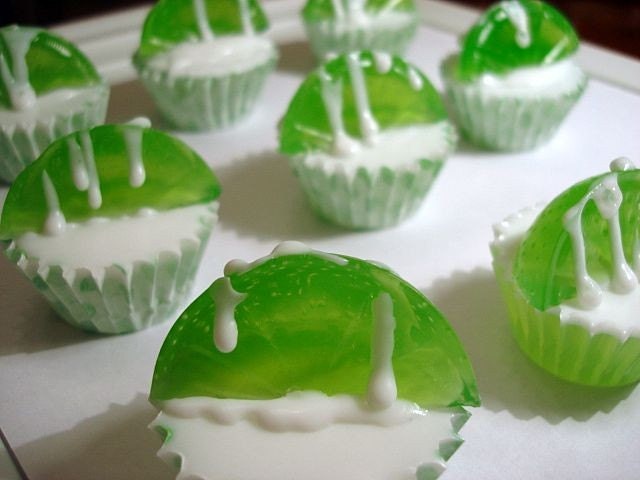
Green: Ventichai's http://www.etsy.com/view_listing.php?listing_id=21370299
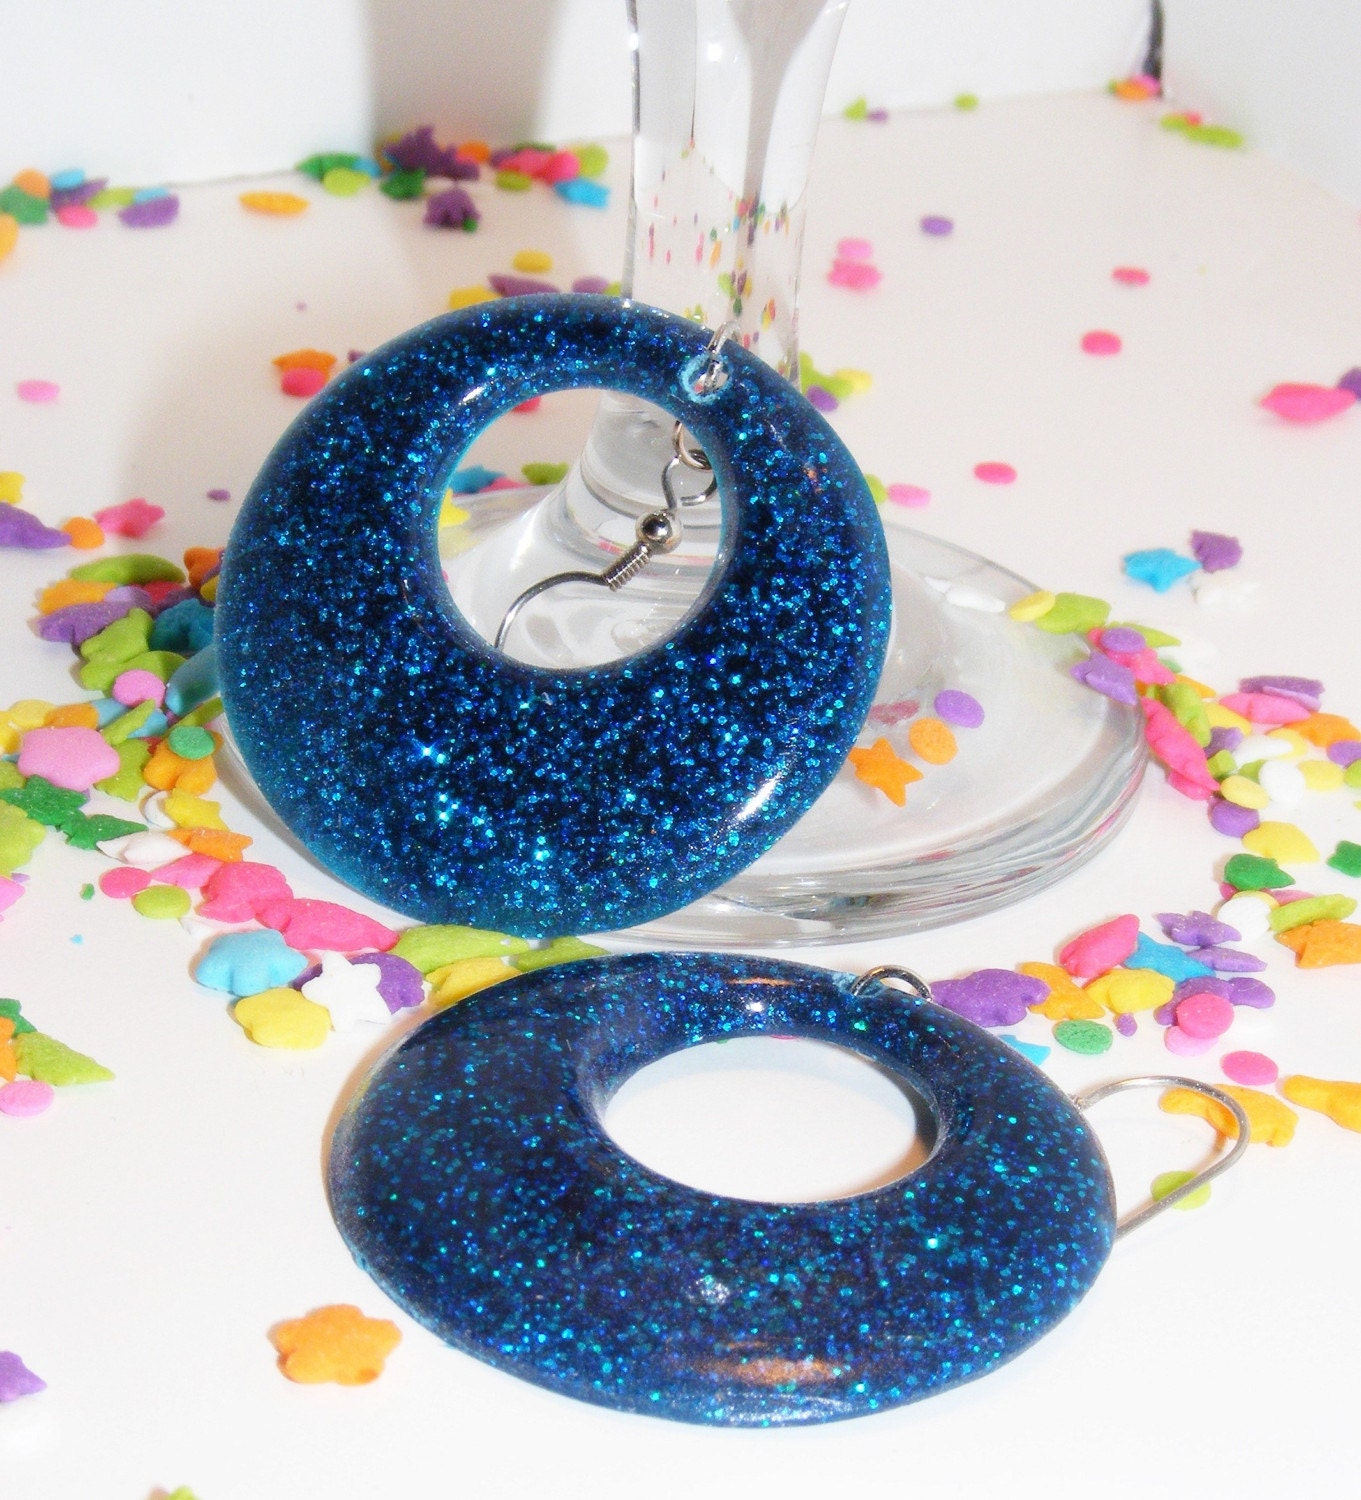
Blue: Rockerchic's http://www.etsy.com/view_listing.php?listing_id=21071936
as close to Indigo: HeyDooney's http://www.etsy.com/view_listing.php?listing_id=7137653
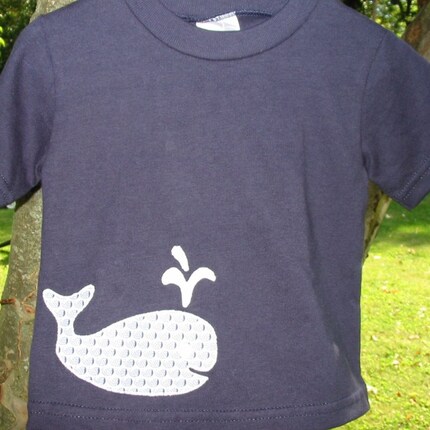
Violet: Always Adorable's http://www.etsy.com/view_listing.php?listing_id=20261541


Ensure the adorableness of your lil'Irish lass!
My bow barrettes would be so happy together with....
http://www.etsy.com/view_listing.php?listing_id=20946548

... Amievoltaire St. Patrick's Day Twirl Skirt Applique Set.
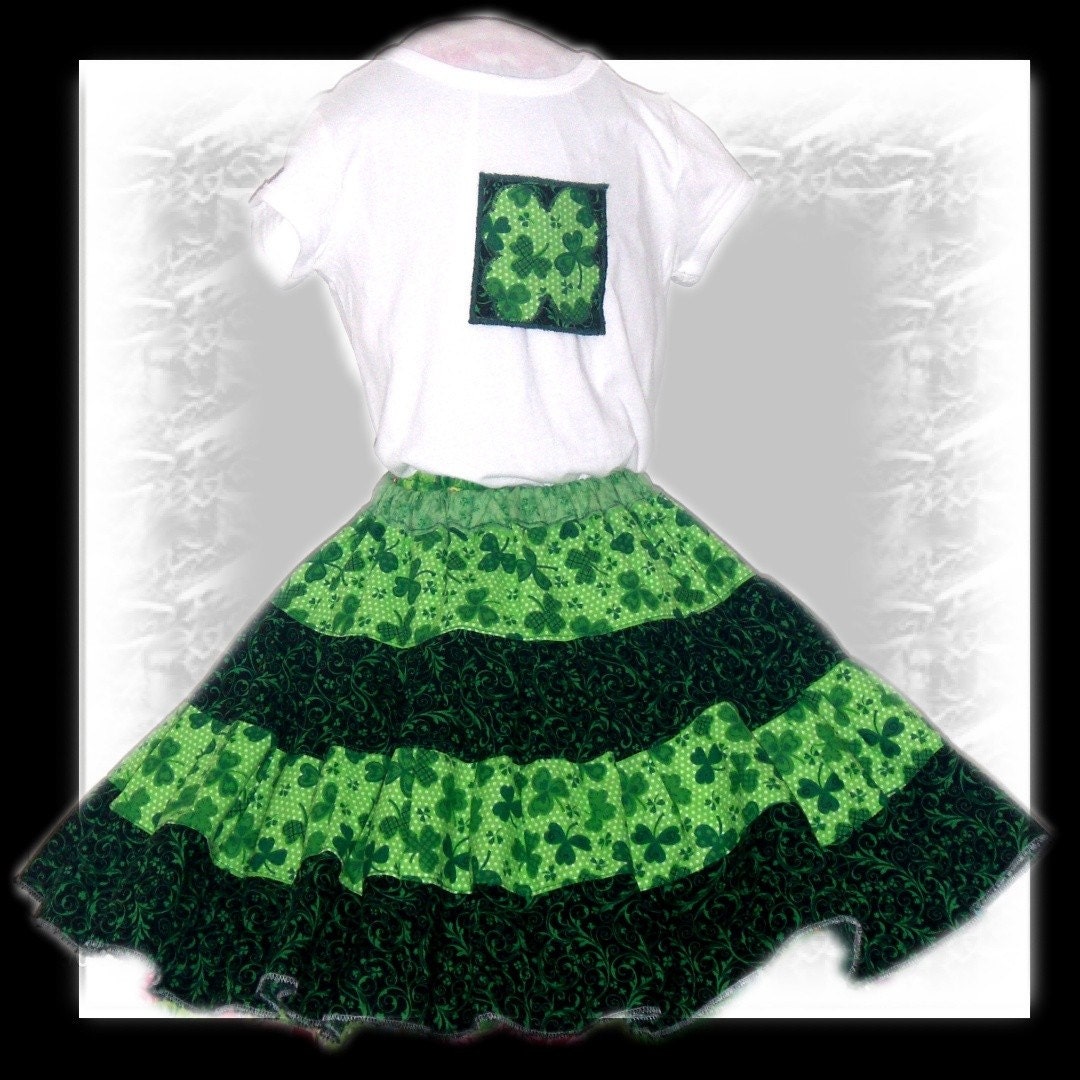

ROYGBIV For so many reasons!
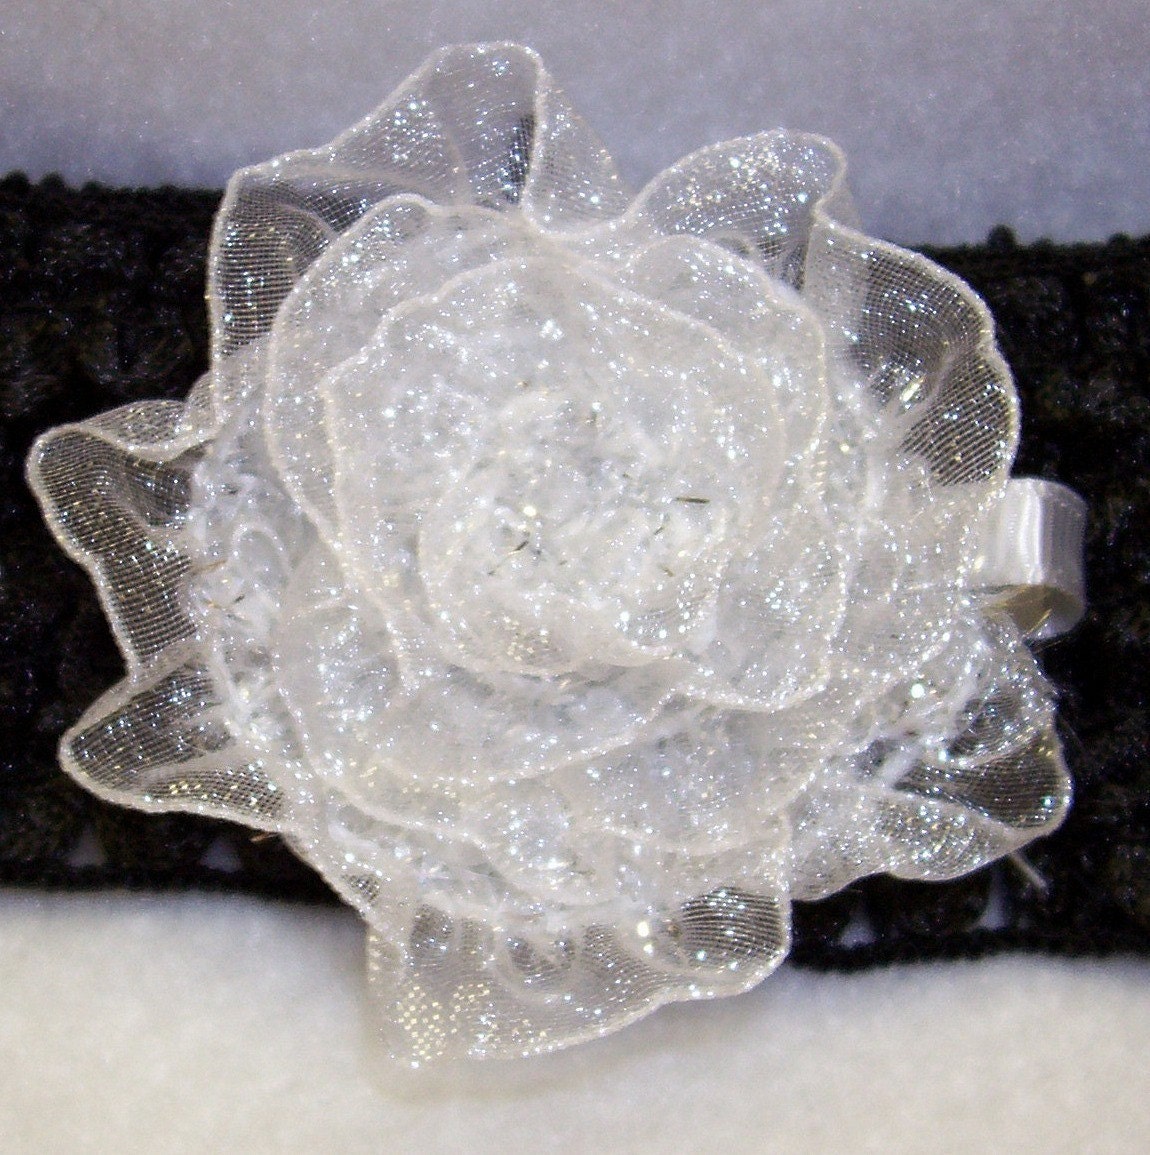
White Handsewn Ribbon Flower Hairclip
Sunbathed Beauty -Red Strawberry- 8x10 Reproduction Print-International Shipping

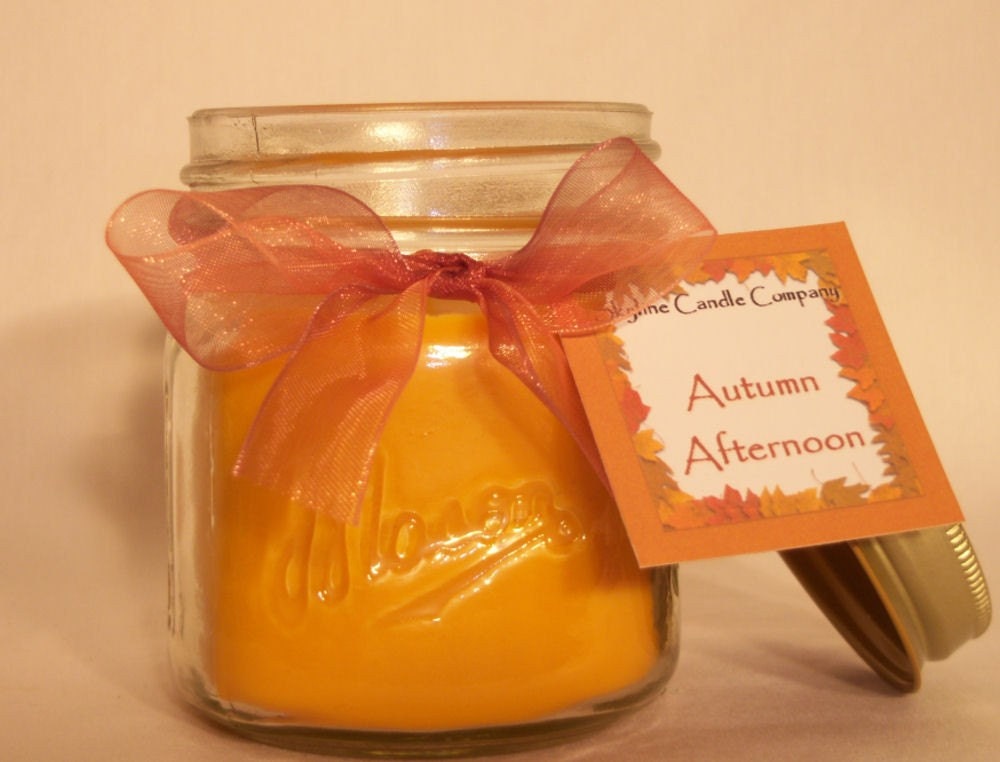
Autumn Afternoon 8oz All Natural Hand-Poured Soy Candle
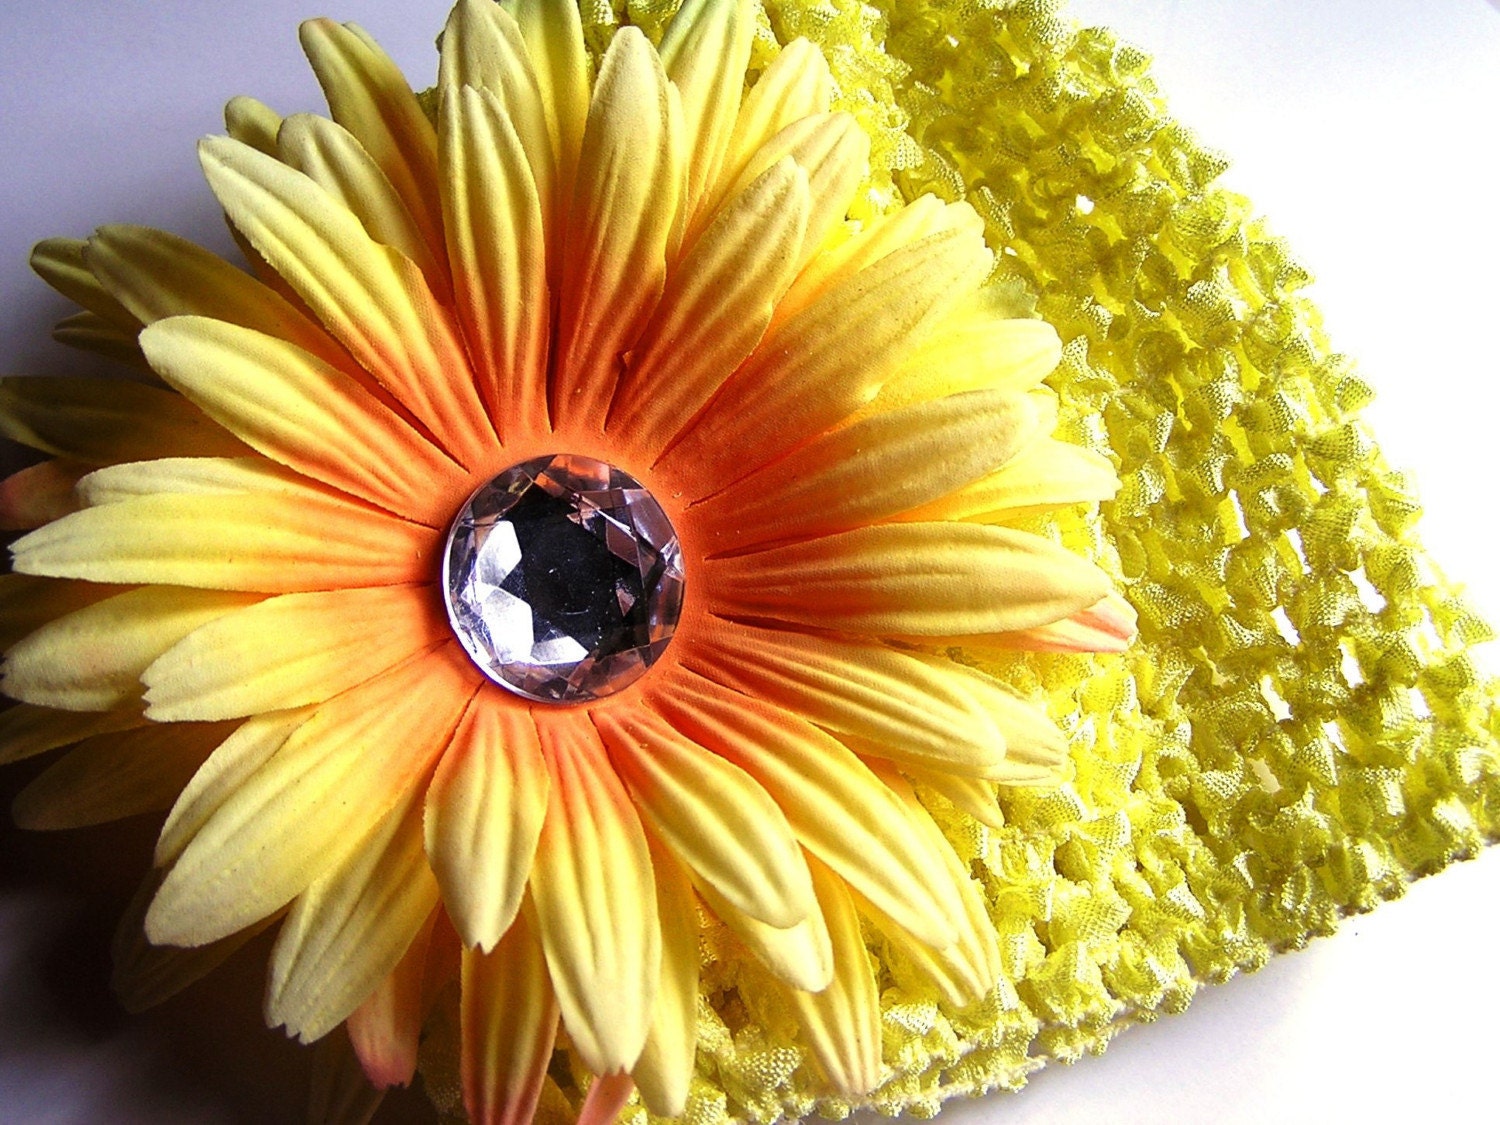
Buttercup Yellow Daisy Newborn / Infant Beanie
Plaid Shamrocks St Patricks Day Pillowcase Dress 12mos 18 mos 2T 3T 4 5 6
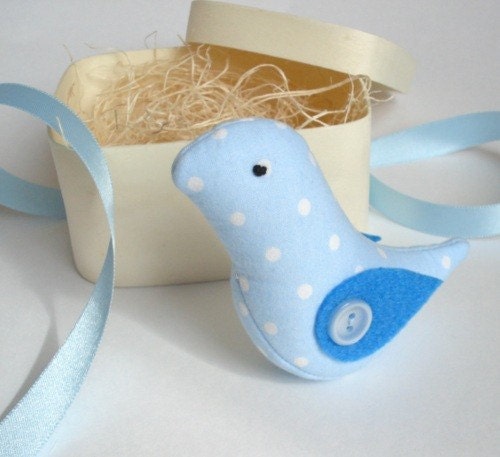
Bluebird of Happiness
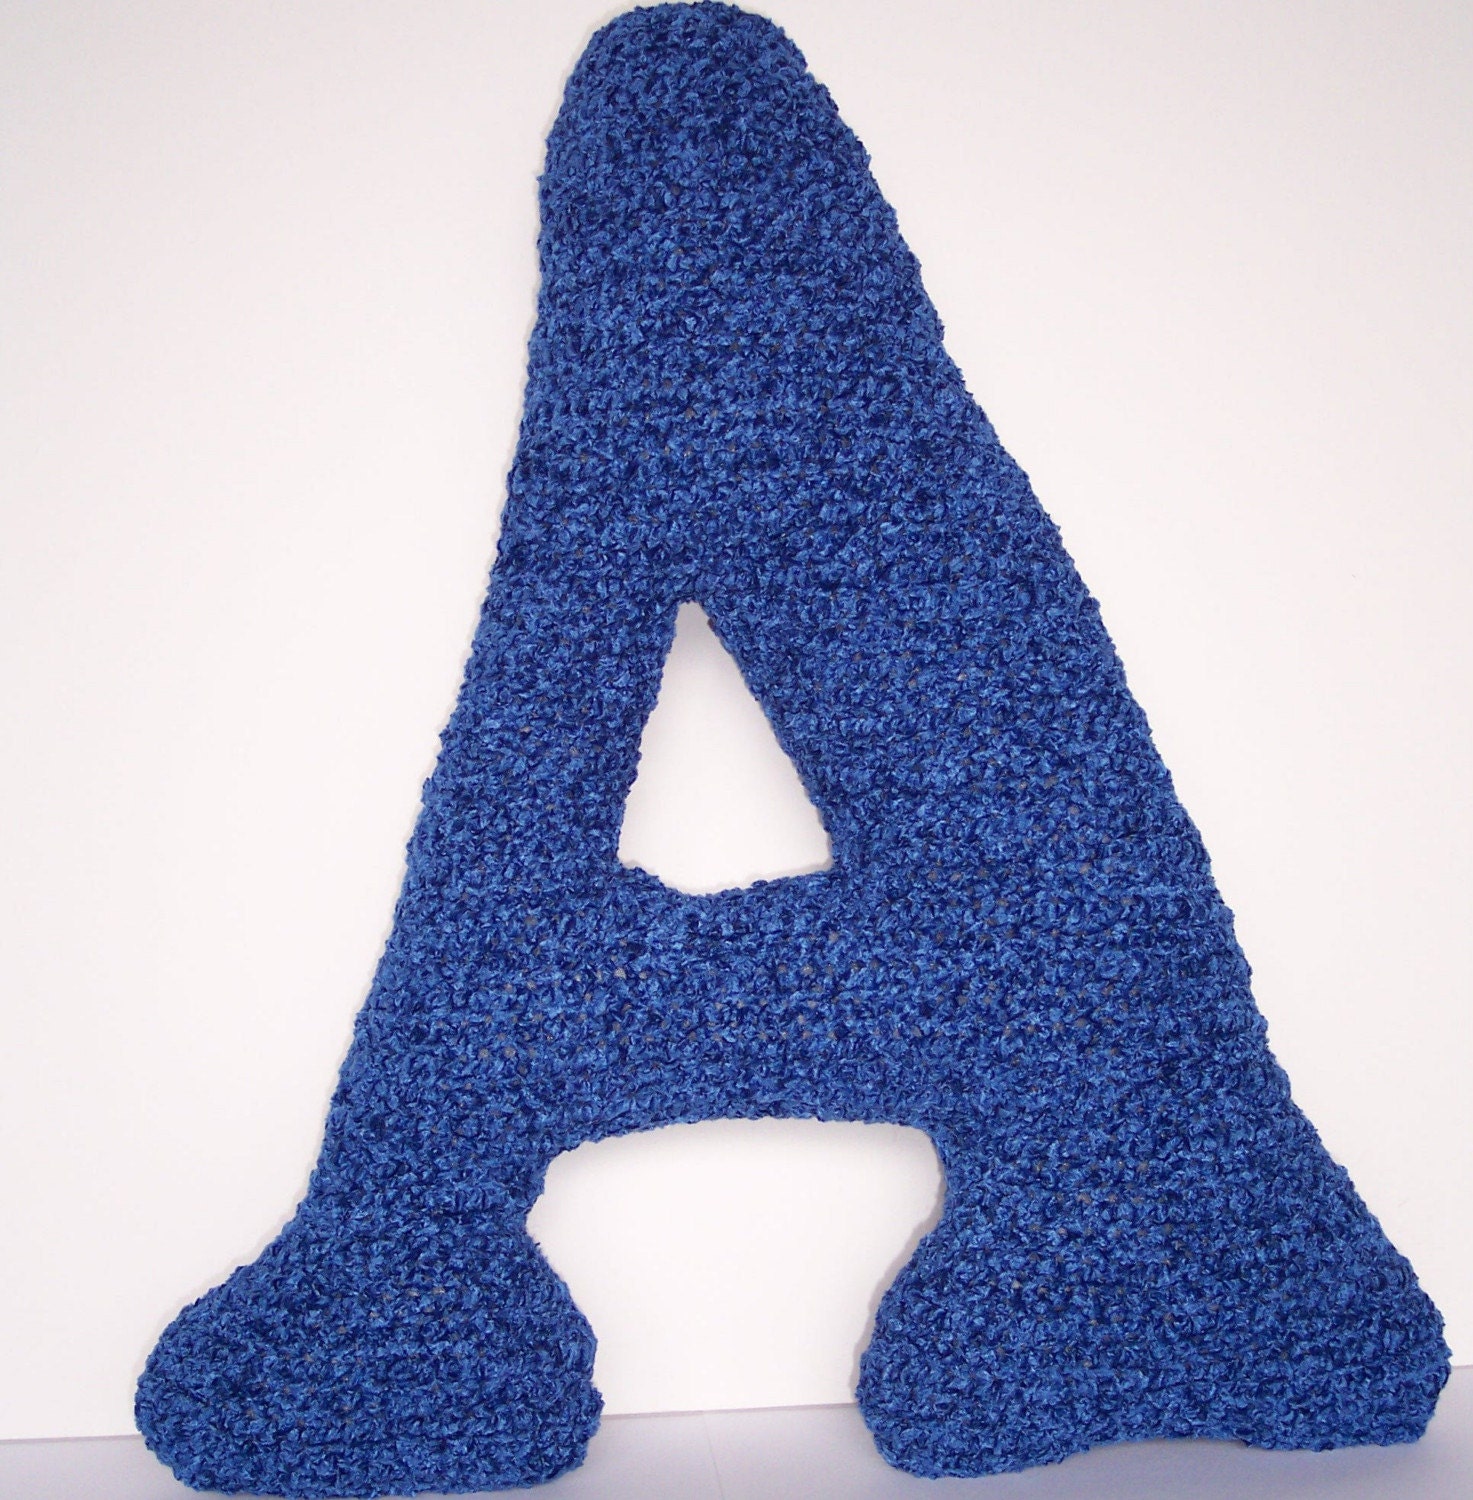
Indigo Chenille Letter A Pillow
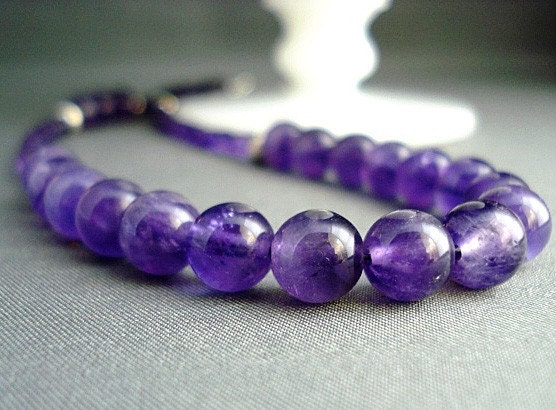
Amethyst Necklace
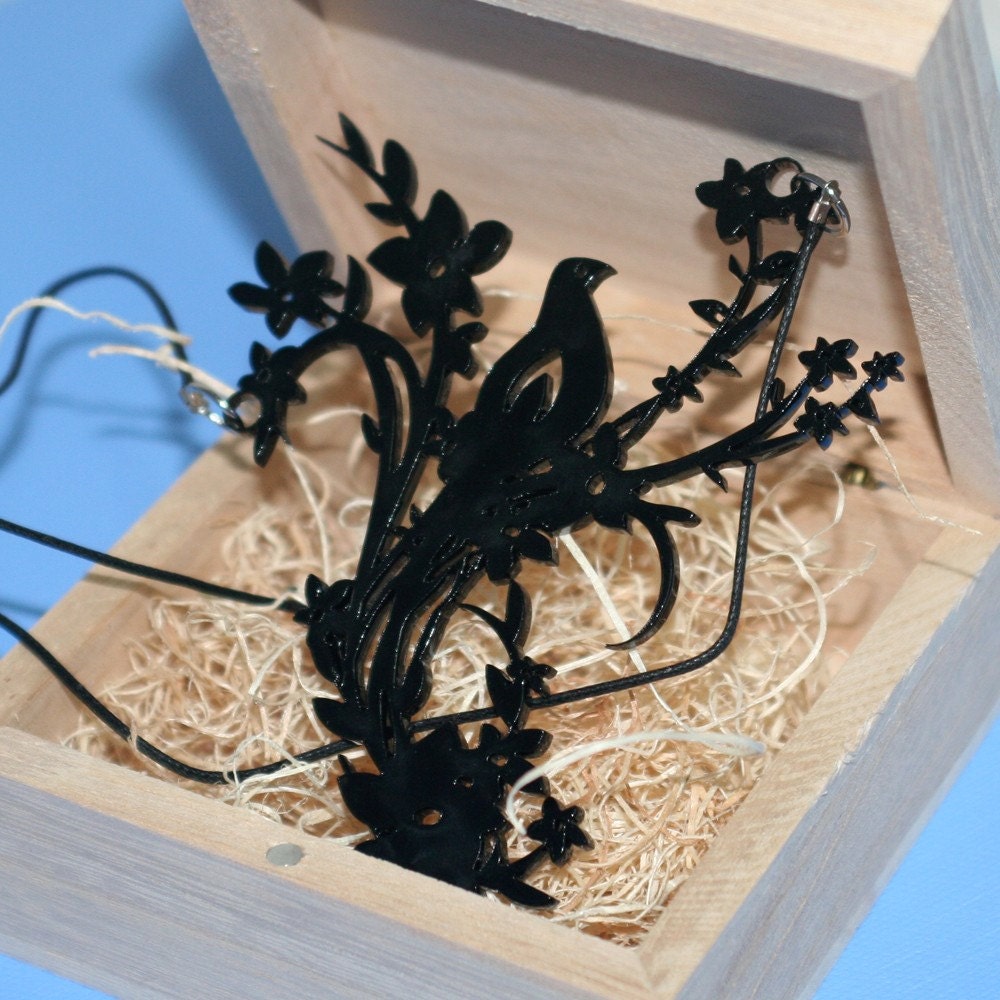
Black Bird Necklace

Monday, February 23, 2009
500 members by 3/29/09

Cafemom Etsy Moms Street Team is having a member drive!
We have a goal of reaching 500 members by 3/29/09.
On March 29th Our Group Leader is Co-hosting on Blockhead Radio, a station for independant artisans and musicans!
We would like as much group participation for the radio show b/c we can promote our group to the world!
So come on over to the Cafemom Etsy Moms Street Team and join up if you sell on etsy!
And btw, the group member who refers the most new members will recieve a handmade tee shirt, and earring pendant combo from the group owner Rockerchic.
There will also be a funny video for the group made to laugh at, as a thank you for helping reach our goal! What it is of yet? We do not know! But we are sure we need to share this with the world!
Sunday, January 18, 2009
Funky Punky Zebras Love Valentines Too!
My shop:
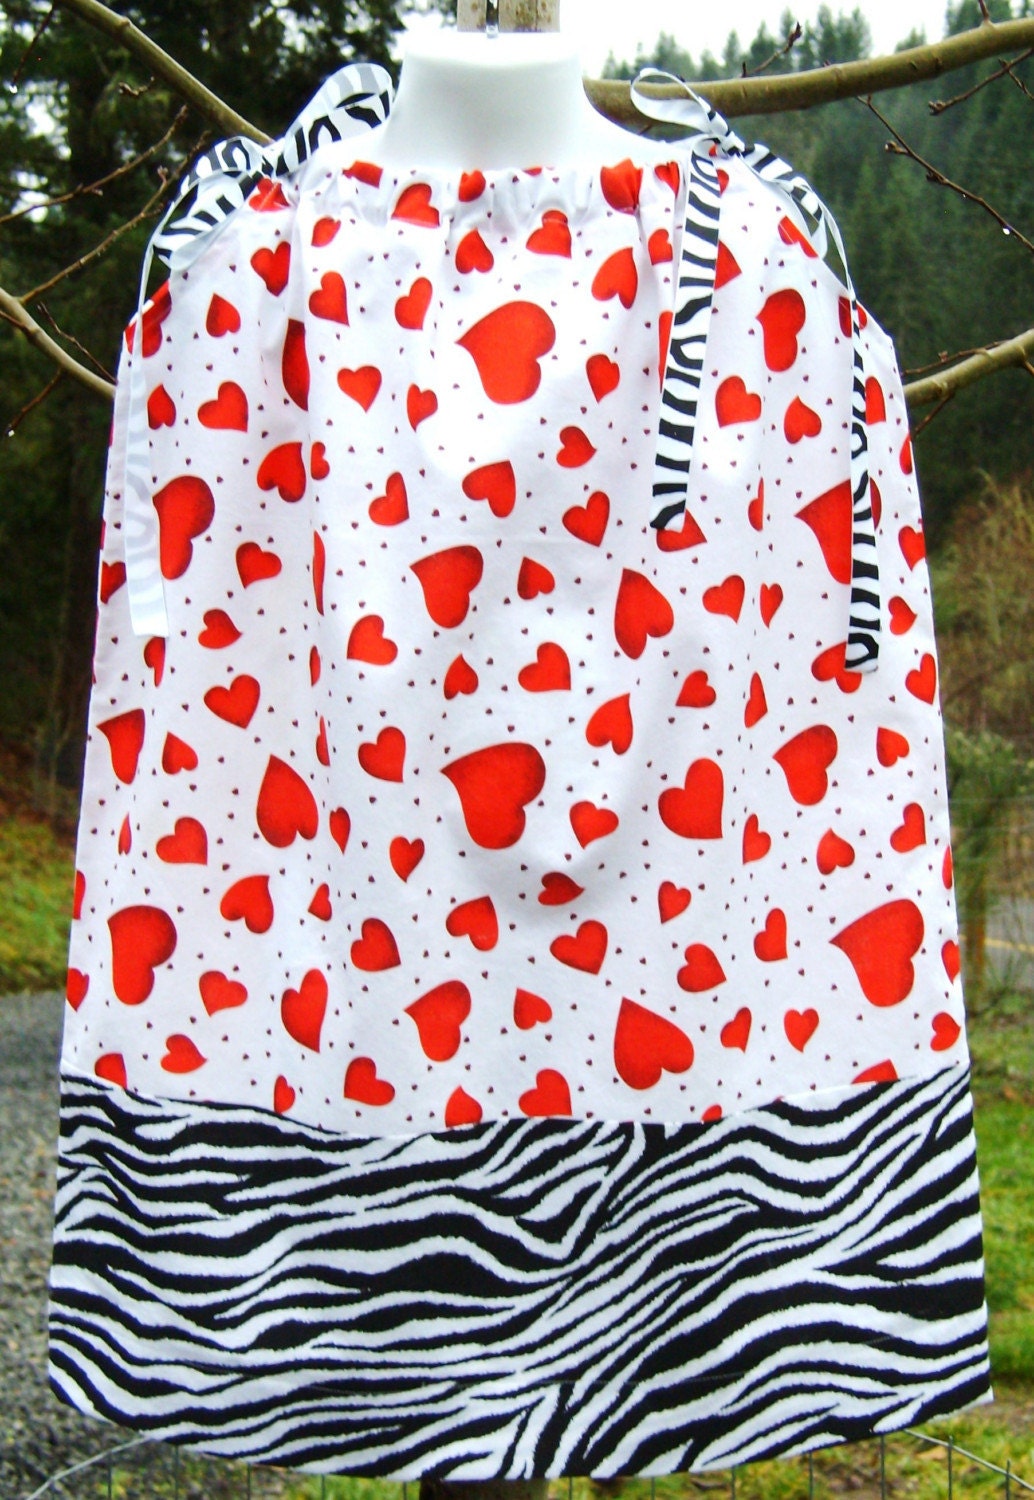
Floating Hearts and Zebra Stripes Valentines Day Girls Pillowcase Dress 12 mos 18 mos 2T 3T 4 5 6
Black bow with zebra headband
Alibugbows

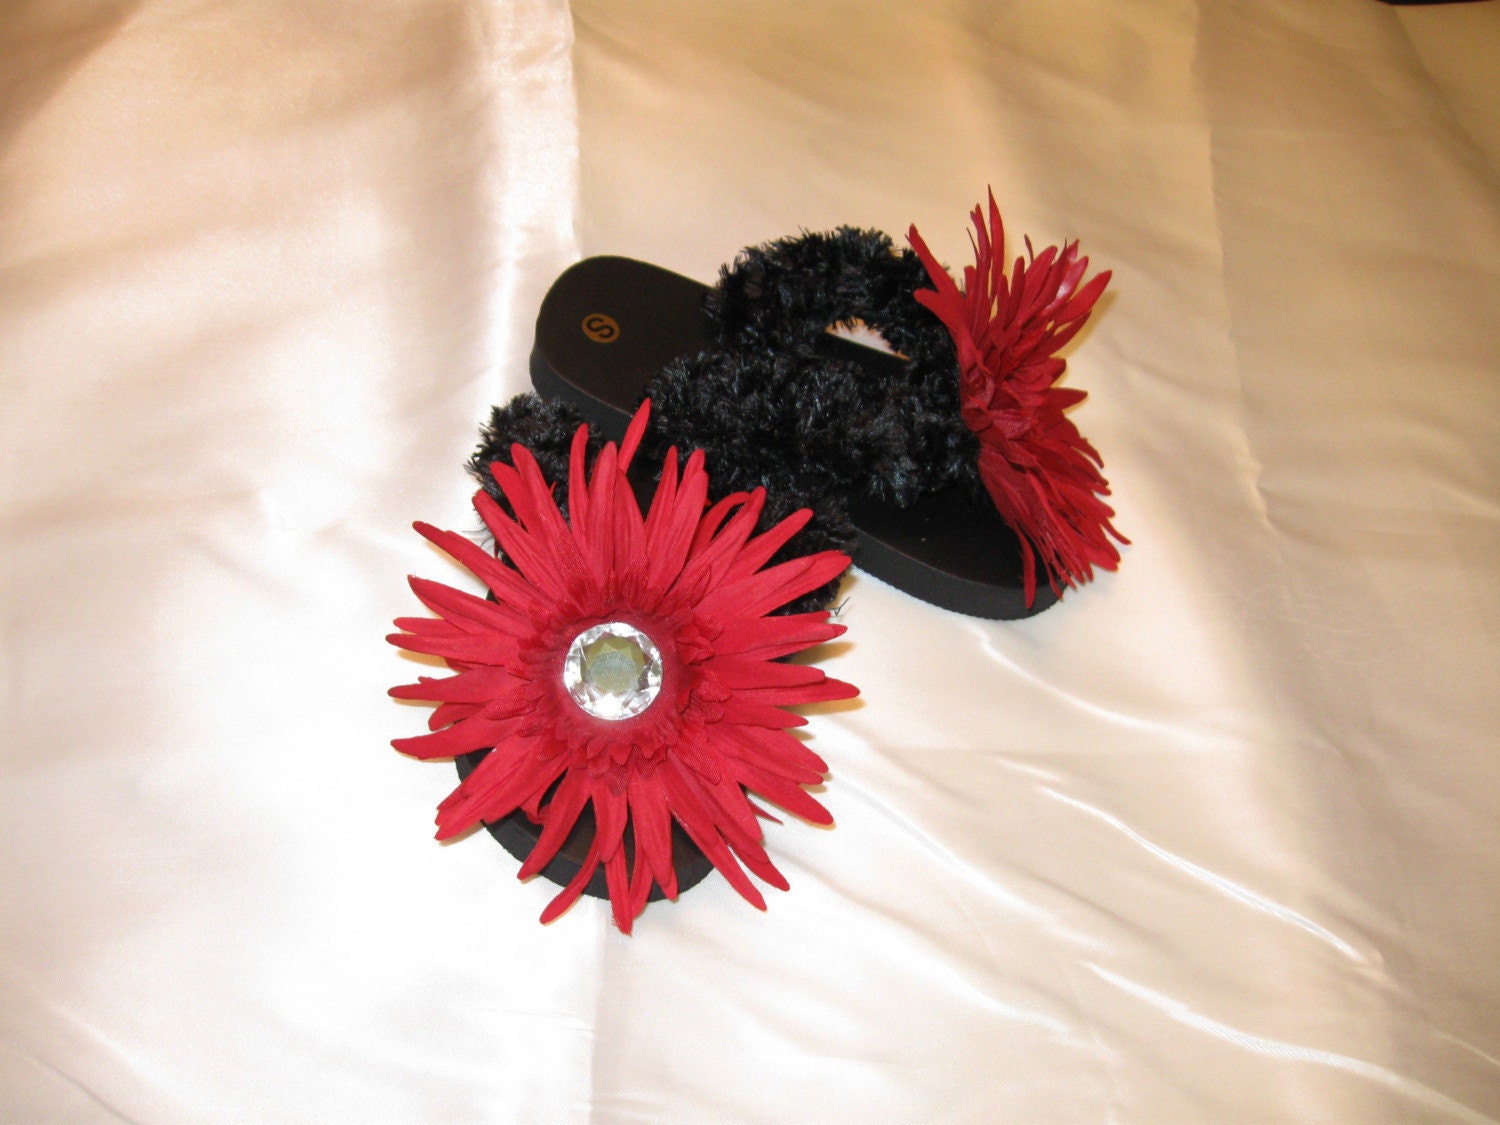
Scarlett and Black Daisy Bling Crochet Flip Flops
LittleLovlie's shop
Pillowcase Dresses*Aprons*Stockings & More!
Check out my Blog too!
For your Valentine's Day Party!
I'm in a PARTY mood, so I think my Mini Valentine's Day cards...

Would be SO happy with these fabulous truffles from honeybee69 (ok, now I want REAL truffles! LOL):

- Char Huskins

For the LOVE of Tea Parties!
For a Valentine's Tea Party: a little girl must host this...

http://www.etsy.com/view_listing.php?listing_id=19398981

http://www.etsy.com/view_listing.php?ref=sr_list_2&listing_id=19307596
My Etsy Shop:
My Blog:
How Do I Join Cafemom Etsy Moms Street Team?
Here is exactly what you need to know to go about joining the friendliest mom Street Team on the Net!
#1: Join up over at Cafemom
#2: Go on over to the Cafemom Etsy Moms Group
#3: Click the button that says APPLY TO GROUP
There are just a few small things we would like to see in your shop.... 3 items! Thats it!
When you apply, you MUST provide a link to or your etsy username so we can search for your store.
And thats it.
We will approve your application.
After 30 days of being an active member, we will put you name on our street team page and over there on the side bar of our blog.
We can't wait to see you there!!!
Kristie and Lori (rockerchic and cozycabinmom on etsy)
#1: Join up over at Cafemom
#2: Go on over to the Cafemom Etsy Moms Group
#3: Click the button that says APPLY TO GROUP
There are just a few small things we would like to see in your shop.... 3 items! Thats it!
When you apply, you MUST provide a link to or your etsy username so we can search for your store.
And thats it.
We will approve your application.
After 30 days of being an active member, we will put you name on our street team page and over there on the side bar of our blog.
We can't wait to see you there!!!
Kristie and Lori (rockerchic and cozycabinmom on etsy)
Saturday, January 17, 2009
Such a great Combination for Valentines!
My Lover's Wristlet http://www.etsy.com/view_listing.php?listing_id=19260241
With Francisbel's Valentine Purse! http://www.etsy.com/view_listing.php?ref=sr_list_18&listing_id=18590422&show_panel=true

Barbara

Wednesday, December 24, 2008
CAFEMOM ETSY MOMS YEAR END SALE!!

SPECTACULAR HANDMADE SAVINGS!! DON'T MISS OUT!
Rockerchic.etsy
25% off in stock items only, no special orders!
Rockin25 in notes to seller please, wait for revised invoice!
25% off in stock items only, no special orders!
Rockin25 in notes to seller please, wait for revised invoice!
50% off Christmas Themed Pillowcase Dresses, Scarves & Knit HatsSPEND $50.00 & RECEIVE FREE SHIPPING WITHIN THE U.S. Enter CCCSALE in notes to seller
FREE Shipping on any order of 20 or more!
bowsforbaby.etsy.com
15% off all stock items (not custom orders) and free shipping on orders totaling $20 or more.
15% off all stock items (not custom orders) and free shipping on orders totaling $20 or more.
All dishrags are on sale for 50% off through the end of December. Sale will end Jan. 1, 2009!! Crochet star ornament is also on sale for $2.00 until Jan. 1, 2009.
Come check it out!!
Come check it out!!
All dishrags are on sale for 50% off through the end of December. Sale will end Jan. 1, 2009!! Crochet star ornament is also on sale for $2.00 until Jan. 1, 2009.
Come check it out!!
Come check it out!!
FREE SHIPPING and 15% off total order.
andreastamps.etsy.com -
50% off all Christmas/holiday cards and tags until gone, 20% off other items through January 3rd. Please include "50/20 sale" in checkout!
stampoutcancer.etsy.com -
25% off all Christmas/holiday cards and tags until gone, whole amount goes to fight cancer! Please include "25 sale" in checkout
ribbonwonders.etsy.com-
LOW introductory prices in my brand-new shop! Plus free shipping on purchases of $20 or more.
50% off all Christmas/holiday cards and tags until gone, 20% off other items through January 3rd. Please include "50/20 sale" in checkout!
stampoutcancer.etsy.com -
25% off all Christmas/holiday cards and tags until gone, whole amount goes to fight cancer! Please include "25 sale" in checkout
ribbonwonders.etsy.com-
LOW introductory prices in my brand-new shop! Plus free shipping on purchases of $20 or more.
Free shipping now to January 1st on all orders.
I am having a total shop Clearance! 50% off. Willing to trade if desired. No special codes required.
ONLY Shop involved is http://1maddieandme.etsy.com/
12/26-12/31: 25% off ALL SnuggleBags and bedding (bunnies and blocks NOT on sale).
code: 2008-25
code: 2008-25
30% OFF ALL HOLIDAY ITEMS (in stock items ONLY & does NOT include custom orders)
20% OFF ENTIRE SHOP (in stock items ONLY & does NOT include custom orders)
100% of all sales from my “DT” Collection will benefit the Florida Boxer Rescue
No special codes needed... All items will already be marked down!
Sale starts Friday, Dec 26th and ends Wednesday, Dec 31st
20% OFF ENTIRE SHOP (in stock items ONLY & does NOT include custom orders)
100% of all sales from my “DT” Collection will benefit the Florida Boxer Rescue
No special codes needed... All items will already be marked down!
Sale starts Friday, Dec 26th and ends Wednesday, Dec 31st
Free shipping in both shops on orders $10 or more, ends December 31, 2008. Put FREESHIP in notes to seller and please wait for revised invoice.
http://www.honeybee69.etsy.com/
25% off all in stock items. (Prices reduced already)
Free shipping on orders over $50.
Will send revised invoice or refund for free shipping .
25% off all in stock items. (Prices reduced already)
Free shipping on orders over $50.
Will send revised invoice or refund for free shipping .
Free shipping on all hairbows and hair bow holders. (In stock only)
Basketsofbeauty.etsy.com
15% OFF ALL IN STOCK ITEMS (does NOT include custom orders)
Prices already adjusted.
15% OFF ALL IN STOCK ITEMS (does NOT include custom orders)
Prices already adjusted.
ALL Baby slings are 10.00 each with free shipping. Complete with a booklet on the How to's, reasons for baby wearing, concerns etc. I am discontinuing them to concentrate on clothing.
My christmas clothing will be marked down to 12.99 each with free shipping.
In stock ornaments will be 3 for 10.00 with free shipping.
Some new designs- including the start of my new "Little Man" line will be coming out the first of January. I have been finding some beautiful spring fabrics for newly designed dresses. I can't wait!
Come and take a peek- December 26 thru December 31!
My christmas clothing will be marked down to 12.99 each with free shipping.
In stock ornaments will be 3 for 10.00 with free shipping.
Some new designs- including the start of my new "Little Man" line will be coming out the first of January. I have been finding some beautiful spring fabrics for newly designed dresses. I can't wait!
Come and take a peek- December 26 thru December 31!
http://www.childishthoughts.etsy.com/
20% off all purchases and free shipping on orders over $50.
20% off all purchases and free shipping on orders over $50.
Making room for new items to go along with the NEW YEAR... 40% OFF ALL HOLIDAY ITEMS (in stock items ONLY & does NOT include custom orders) 20% OFF ALL OTHER ITEMS IN SHOP (in stock items ONLY & does NOT include custom orders) No code needed!! Prices will already be marked down!!
Cosmic Clean Body
Buy 3 bars of soap and get a 4th bar FREE!
*Just include code END08 in the "Notes to Seller" at checkout along with your FREE soap choice. **Excludes Cosmic Clusters and gift boxes.
***Sale ends December 31st, 2008.
Gazed-Upon Glass
Buy 3 bars of soap and get a 4th bar FREE!
*Just include code END08 in the "Notes to Seller" at checkout along with your FREE soap choice. **Excludes Cosmic Clusters and gift boxes.
***Sale ends December 31st, 2008.
Gazed-Upon Glass
15% off merchadise total before shipping!
* Just include code END08 in the "Notes to Seller" at checkout and await a revised invoice.
**Sale ends December 31st, 2008.
* Just include code END08 in the "Notes to Seller" at checkout and await a revised invoice.
**Sale ends December 31st, 2008.
Free shipping now to January 1st on all orders USA only (shipping will be refund after payment be make)
NOT include custom orders..
NOT include custom orders..
hoffeeandanuffin.etsy.com
20% off ALL IN-STOCK items December 26th thru December 31st AND FREE SHIPPING on all US orders.
Use code: END2008 and wait for revised invoice before paying.
20% off ALL IN-STOCK items December 26th thru December 31st AND FREE SHIPPING on all US orders.
Use code: END2008 and wait for revised invoice before paying.
http://www.createmeacanvas.etsy.com/
Free shipping on orders over $20
Enter code end08 in notes to seller for a refund of the shipping amount
Free shipping on orders over $20
Enter code end08 in notes to seller for a refund of the shipping amount
Tuesday, December 16, 2008
Christmas Goodies

Just sharing a few of our favorite Christmas recipes with you.
Peppermint Bark Recipe

Ingredients
12 oz. of high-quality white chocolate chips or dark chocolate chips
5 regular sized candy canes, crushed up
1/2 teaspoon of peppermint extract
Method
1 Break up peppermint candy into little pieces. Melt the chocolate according to the manufacturer's instructions. Once melted, add the peppermint extract and stir.
2 Pour the melted chocolate out onto a cookie sheet lined with wax paper and spread out with a spatula or wooden spoon. Sprinkle the peppermint candy chunks on to the chocolate and gently press them in with yours hands.
3 Place in the freezer for 5 minutes or until hardened. Break into pieces and serve or store in the fridge in an airtight container.
12 oz. of high-quality white chocolate chips or dark chocolate chips
5 regular sized candy canes, crushed up
1/2 teaspoon of peppermint extract
Method
1 Break up peppermint candy into little pieces. Melt the chocolate according to the manufacturer's instructions. Once melted, add the peppermint extract and stir.
2 Pour the melted chocolate out onto a cookie sheet lined with wax paper and spread out with a spatula or wooden spoon. Sprinkle the peppermint candy chunks on to the chocolate and gently press them in with yours hands.
3 Place in the freezer for 5 minutes or until hardened. Break into pieces and serve or store in the fridge in an airtight container.
White Chocolate Covered Pretzels
INGREDIENTS
6 (1 ounce) squares white chocolate
1 (15 ounce) package mini twist pretzels
1/4 cup red and green candy sprinkles (optional)
DIRECTIONS
Melt white chocolate in the top of a double boiler, stirring constantly.
Dip pretzel halfway into the white chocolate, completely covering half of the pretzel. Roll in topping if desired, and lay on wax paper.
Continue the process until all of the white chocolate is finished. Place in refrigerator for 15 minutes to harden. Store in airtight container.
6 (1 ounce) squares white chocolate
1 (15 ounce) package mini twist pretzels
1/4 cup red and green candy sprinkles (optional)
DIRECTIONS
Melt white chocolate in the top of a double boiler, stirring constantly.
Dip pretzel halfway into the white chocolate, completely covering half of the pretzel. Roll in topping if desired, and lay on wax paper.
Continue the process until all of the white chocolate is finished. Place in refrigerator for 15 minutes to harden. Store in airtight container.
Mini Cheesecakes
INGREDIENTS
1 (12 ounce) package vanilla wafers
2 (8 ounce) packages cream cheese
3/4 cup white sugar
2 eggs
1 teaspoon vanilla extract
1 (21 ounce) can cherry pie filling
DIRECTIONS
Preheat oven to 350 degrees F (175 degrees C). Line miniature muffin tins (tassie pans) with miniature paper liners.
Crush the vanilla wafers, and place 1/2 teaspoon of the crushed vanilla wafers into each paper cup.
In a mixing bowl, beat cream cheese, sugar, eggs and vanilla until light and fluffy. Fill each miniature muffin liner with this mixture, almost to the top.
Bake for 15 minutes. Cool. Top with a teaspoonful of cherry pie filling.
2 (8 ounce) packages cream cheese
3/4 cup white sugar
2 eggs
1 teaspoon vanilla extract
1 (21 ounce) can cherry pie filling
DIRECTIONS
Preheat oven to 350 degrees F (175 degrees C). Line miniature muffin tins (tassie pans) with miniature paper liners.
Crush the vanilla wafers, and place 1/2 teaspoon of the crushed vanilla wafers into each paper cup.
In a mixing bowl, beat cream cheese, sugar, eggs and vanilla until light and fluffy. Fill each miniature muffin liner with this mixture, almost to the top.
Bake for 15 minutes. Cool. Top with a teaspoonful of cherry pie filling.
Aunt Teen's Creamy Chocolate Fudge
INGREDIENTS
1 (7 ounce) jar marshmallow creme
1 1/2 cups white sugar
2/3 cup evaporated milk
1/4 cup butter
1/4 teaspoon salt
2 cups milk chocolate chips
1 cup semisweet chocolate chips
1/2 cup chopped nuts
1 teaspoon vanilla extract
DIRECTIONS
Line an 8x8 inch pan with aluminum foil. Set aside.
In a large saucepan over medium heat, combine marshmallow cream, sugar, evaporated milk, butter and salt. Bring to a full boil, and cook for 5 minutes, stirring constantly.
Remove from heat and pour in semisweet chocolate chips and milk chocolate chips. Stir until chocolate is melted and mixture is smooth. Stir in nuts and vanilla. Pour into prepared pan. Chill in refrigerator for 2 hours, or until firm.
1 (7 ounce) jar marshmallow creme
1 1/2 cups white sugar
2/3 cup evaporated milk
1/4 cup butter
1/4 teaspoon salt
2 cups milk chocolate chips
1 cup semisweet chocolate chips
1/2 cup chopped nuts
1 teaspoon vanilla extract
DIRECTIONS
Line an 8x8 inch pan with aluminum foil. Set aside.
In a large saucepan over medium heat, combine marshmallow cream, sugar, evaporated milk, butter and salt. Bring to a full boil, and cook for 5 minutes, stirring constantly.
Remove from heat and pour in semisweet chocolate chips and milk chocolate chips. Stir until chocolate is melted and mixture is smooth. Stir in nuts and vanilla. Pour into prepared pan. Chill in refrigerator for 2 hours, or until firm.
Mom's Peanut Brittle
INGREDIENTS
1 1/2 cups white sugar
2/3 cup water
2/3 cup light corn syrup
2 tablespoons butter
1/2 cup raw Spanish peanuts
1/2 teaspoon salt
1/2 teaspoon vanilla extract
1/2 teaspoon baking soda
1 1/2 teaspoons water
DIRECTIONS
Generously butter a 12x18 inch cookie sheet. Set aside.
Mix sugar, water, and corn syrup in a heavy skillet. Stir well until it comes to a boil. Cover and boil 3 minutes. Continue to boil to hard ball stage (when a little bit dropped into a cupful of cold water forms a hard ball - hence the name!) 250 degrees F (120 degrees C).
Stir in butter and peanuts. Continue cooking until mixture turns a light brown color. Remove from heat.
Mix together salt, vanilla, baking soda and water. Combine this with syrup and nuts mixture. Mix well, and fast.
Pour onto prepared cookie sheet. Use back of buttered spoon to spread thinly and evenly. Allow to cool, then break into pieces. Store in airtight container in refrigerator.
1 1/2 cups white sugar
2/3 cup water
2/3 cup light corn syrup
2 tablespoons butter
1/2 cup raw Spanish peanuts
1/2 teaspoon salt
1/2 teaspoon vanilla extract
1/2 teaspoon baking soda
1 1/2 teaspoons water
DIRECTIONS
Generously butter a 12x18 inch cookie sheet. Set aside.
Mix sugar, water, and corn syrup in a heavy skillet. Stir well until it comes to a boil. Cover and boil 3 minutes. Continue to boil to hard ball stage (when a little bit dropped into a cupful of cold water forms a hard ball - hence the name!) 250 degrees F (120 degrees C).
Stir in butter and peanuts. Continue cooking until mixture turns a light brown color. Remove from heat.
Mix together salt, vanilla, baking soda and water. Combine this with syrup and nuts mixture. Mix well, and fast.
Pour onto prepared cookie sheet. Use back of buttered spoon to spread thinly and evenly. Allow to cool, then break into pieces. Store in airtight container in refrigerator.
Crunchy Peanut Butter Balls
INGREDIENTS
1 cup peanut butter*
1 (7 ounce) jar marshmallow creme
1 1/2 cups crisp rice cereal
1 1/2 cups semisweet chocolate chips
4 teaspoons shortening
DIRECTIONS
In a large bowl, combine the peanut butter and marshmallow creme; add cereal and stir until well coated. In a small microwave-safe bowl, combine chocolate chips and shortening. Microwave, uncovered, for 1-2 minutes or until chips are melted; stir until smooth.
Roll cereal mixture into 1-in. balls; dip in chocolate. Place on a waxed paper-lined pan. Refrigerate until set.
Easy Fudge
1 can sweetened condensed milk
3 cups chocolate chips
2 tsp. vanilla
1/2 cup nuts, any variety (optional)
Line square cake pan with parchment paper. Combine milk and chips in medium sized sauce pan, melt over low heat. Remove from heat and mix in vanilla. Mix in nuts if desired. Pour into cake pan and refridgerate for 2 to 3 hours. Once cooled, remove from pan by lifting parchment paper, cut and store in covered container in fridge.
3 cups chocolate chips
2 tsp. vanilla
1/2 cup nuts, any variety (optional)
Line square cake pan with parchment paper. Combine milk and chips in medium sized sauce pan, melt over low heat. Remove from heat and mix in vanilla. Mix in nuts if desired. Pour into cake pan and refridgerate for 2 to 3 hours. Once cooled, remove from pan by lifting parchment paper, cut and store in covered container in fridge.
Merry Santa Cupcakes

Reynolds® Color Seal-Tight Plastic Wrap
24
Reynolds® Baking Cups
1
package (14.5 oz.) white cake mix.
1
can (16 oz.) vanilla ready–to–spread frosting
Red sugar crystals
Mini candy coated chocolate pieces
Mini marshmallows
PLACE 24 Reynolds Baking Cups in a muffin pan; set aside.PREHEAT oven to 350°F. Prepare cake mix following package directions for cupcakes. Fill baking cups 2/3 full with cake batter.BAKE 18 to 23 minutes, following package directions. Cool.FROST each cupcake with vanilla frosting. Decorate each cupcake to look like Santa: for hat, sprinkle top third and halfway down one side of cupcake with red sugar crystals. Place mini candy coated chocolate pieces on frosting for eyes and nose. Cut 2 mini marshmallows in half lengthwise, place at edge of red sugar for hat brim. Place one mini marshmallow at end of red sugar on side for the hat tassel. For beard, place about 10 mini marshmallows over bottom third of frosting.
Vanilla Rum Balls
Ingredients
3 tablespoons cocoa powder
1 cup confectioners' sugar (150g)
3 cups vanilla wafers, crushed (Crush vanilla biscuits and use if you dont get vanilla wafers, 300g)
4 tablespoons dark corn syrup or golden syrup
1/2 cup dark rum (more or less, depending on personal tastes)
extra cocoa or ground chocolate, to roll the rum balls in
Directions
In a large bowl, sift together the cocoa and confectioners' sugar.
In a food processor or blender crush/crumble the vanilla wafers.
Add the crushed vanilla wafers to the sugar mixture and combine.
Add the remaining ingredients
Form the mixture into 1 inch (2. 5 cm) balls with your hands
The balls should hold together easily and retain their shape.
If the mixture is too dry to hold together or too wet to form balls, you can easily adjust the consistency by adding rum/sugar accordingly.
Sprinkle the extra cocoa or ground chocolate on a flat surface and roll the balls in to coat
Have'em on your cookie tray this year and watch'em vanish before you know it!
Oreo Bon Bons (these are to die for!)
Ingredients:
1 pkg of Oreo cookies
1 8 oz pkg of Philadelphia Cream cheese
1 pkg of vanilla almond bark
Directions:
crush entire pkg of oreos until they are pretty much a powder. Put oreos in a large mixing bowl. Put pkg of cream cheese into oreos, mix together with hands. Keep mixing until all crushed oreos are mixed in with cream cheese. Roll mixture into a ball (about quarter height). Place onto wax papered cookie sheet. Put into refrigerator to chill for about 20 min. Melt almond bark per pkg instructions. Dip rolled balls into melted almond bark and place back onto waxed paper cookie sheet. They will harden quickly. Place finished Bon Bons into the refrigerator for just a little bit to allow almond bark to completely set. You're done
Cranberry Whip
~ 1 tub cool whip
~ 1 bag cranberries (crushed)
~ 1 1/2 cups Sugar
~ 1 cup crushed pineapple (drained)
~ 1 cup miniature marshmallows (or the whole bag!)
Crush cranberries in food processor or blender
Add sugar to cranberries- refrigerate overnight
Add remaining ingredients
Stir and refrigerate 1 hour before serving
Friday, October 17, 2008
A Handmade Halloween With Etsy
A Handmade Halloween With Etsy
As originally posted on the H&G Buzz Blog on Cafemom
As originally posted on the H&G Buzz Blog on Cafemom
A Handmade Halloween With Etsy
October 17, 2008 at 1:00 PM by Cafe Sheri - Comments (2)
You've heard of Etsy, right? Well, if not, then you should know that Etsy's the coolest, most action-packed online craft fair in America! There are thousands of crafters and artists on the Etsy site, and the merchandise is changing all the time.
In fact, right here on CafeMom, there's a group for CafeMom Etsy Moms, open to any CafeMom who sells anything on Etsy. And now through October 31st, several of the CafeMom Etsy Moms are having a Pre-Holiday Sale. Don't miss it!
Here are a few of my favorite handmade Halloween items for Home from the CafeMom Etsy Moms shops (available while supplies last):
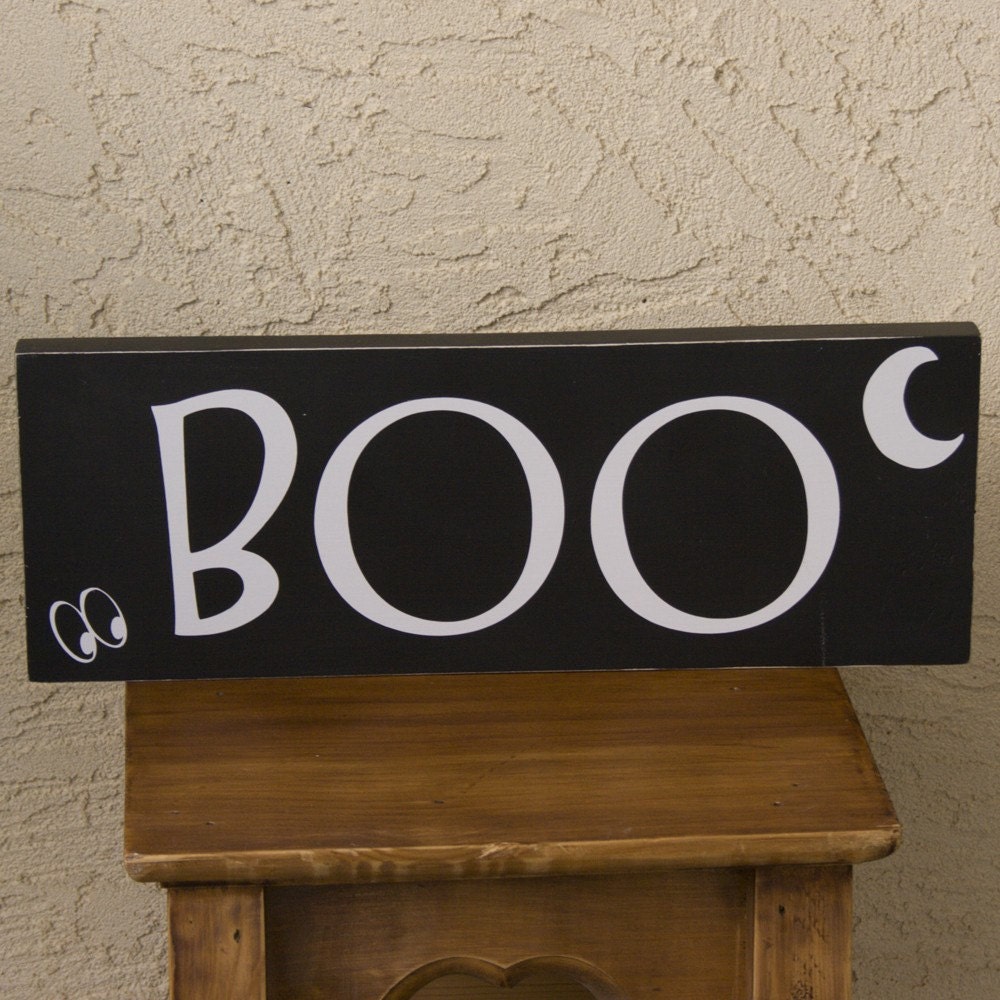
"Boo" Vinyl Board from caligirlcrafts (aka CafeMom caligirlcrafts), $9.95
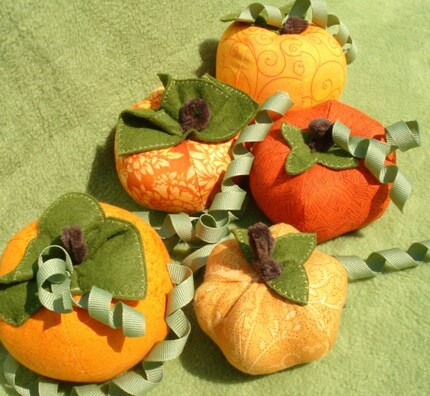
Harvest Pumpkins, set of 5, from ae baby (aka CafeMom aebaby), $16.50
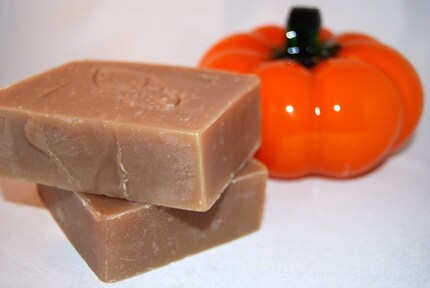
Spiced Pumpkin Scented Soap from Cosmic Clean Body (aka CafeMom Celyn4), $4
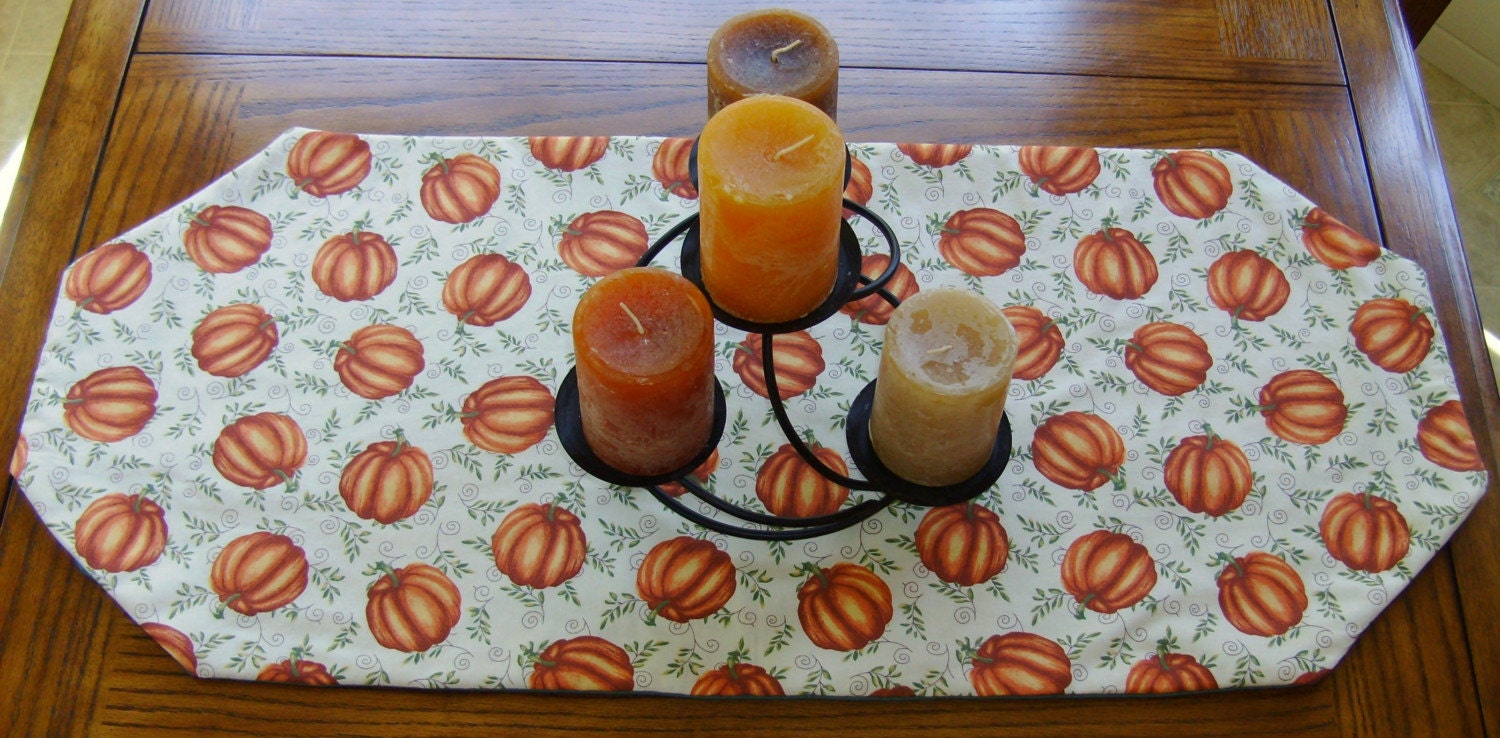
Fall Pumpkins Table Runner from Cozy Cabin Creations (aka CafeMom cozycabinmom), $10
Thursday, October 9, 2008
Tips for a Great Craft Show!

So, you've signed up to do your first craft show? Great!
So, now what do you do?
Ok, so lets start with some simple basics.....
Have plenty of merchandise at all price points. If you have lots of lower priced things, people tend to purchase more than one of those at a time. Think of the "add on" sale. Make peices that coordinate each other so you can make even more money by selling things together as sets.
Have something for the kids. Even if your craft is not child specific. Bring at least 2 or 3 types of items for the kids. Parents are suckers for buying for the babies! A little necklace, or pillowcase dress, even a small doll, or a mug for them to drink out of, all of these are great ideas for kids. And they can range in price from very low to very high.
Have your Set up prepared, and ready to go for the day of the show! There is nothing more stressful than running around trying to find everything last minute for your show.
Here are some basics you'll need:
A Tent of course, At least 2 six foot Table, Table Covers, and displays for your products
These are the Big things.
And here is some advice on setting up a professional looking booth:
Remember, the goal here is to bring people IN, not have them walk by without giving you a second glance! So.... remember the horseshoe or U shape.... Set your tables up with two on the side and a smaller one in the middle of the back. This brings people in, giving you a chance to welcome them to your area, and them to get a hands on feel for your merchandise.
Use Risers. Set the Back of your booth up high, and then lower it as it gets to the front. This way there are some items eye level, and it also gives a nicer appearance. Appearance is a VERY KEY selling tool! You have worked yourself to death, getting ready for this show... Why would you just throw your stuff out there just any old way? Make it look good!
Advice on raising your items:
Use the boxes you brought your crafts to the show in, and put them underneath a table cover, then flounce the table cover around. You can also put larger boxes in the floor in front of the table, covered with table covers and topped with merchandise. This way you are utilizing all of your space and getting as much of your product out as possible.
And if you would like to buy professional looking displays there are lots of links online that you can buy these from. Or if your lucky like me, you know someone in the retail industry that you can simply borrow these displays from.
Ok, so now we have our merchandise, and we have our setup.... What else did we need to bring?
Here are some essentials, you'll be so glad you remembered to pack:
Lots of pens
Business Cards
Receipt Book
Scissors
Ribbon or string
Extra Price Tags
Duct Tape
Safety Pins
Calculator/Adding Machine
A small table to work on
A money apron, not box... keep your money on you...
And speaking of price tags: Remember to price all of your merchandise! Some people may be interested in your items, but are afraid to ask for the price. If you price each one, or have a Clearly printed or Typed Sign then you will have a better chance of selling your items.
How far are we now? We have merchandise, we've priced it, we have our set up, and our extra stuff.... We sound like we're ready for anything right?
WRONG!!!!!
The first, most important rule of doing your own craft show:
SPEAK TO EACH CUSTOMER!
Young and Old.... You MUST speak to each customer! Tell everyone hello, welcome them to your booth. Let every customer know that you are there to answer any questions they may have.
Also, pick out your favorite piece. Anytime you can, you show that piece to customers in your area. They may say: "My, your things are beautiful" and you reply with: "Let me show you my absolute favorite!"
Strike up a conversation with this! If they don't particularly like this one, find out what it is about it they don't like, then you have a better idea of what they are looking for and you can go from there.
And if you find the perfect item for them, and they simply can't afford it, give them your business card at that point. It may also be helpful to let them know that you sell it higher online, and if they got it now, it will be X dollars less and no shipping fees.
Remember to be polite! Say yes ma'am, no sir, please and thank you. These are your customers, and you would like to take home a little of their money.... Also, you would like to hear good feedback about your craft too... So, being nice is a vital part of selling your items!
And make sure you let people know a little bit about the creation process..... "Did you know it takes me 7 hours to make each of these!?!" Or "I make all of my own dyes for this". Anything that they can tell their friends, "I got this from rockerchic, she sells on a website called Etsy, and she said it takes 7 hours to make each one of these dolls" And then, always make sure, you let people know your special order policy.... You can have 52 dresses, in 51 different colors, And surely the ONE color you did not bring, is the ONLY color anyone wants that day! Be sure you let everyone know that you are able to do these things, how they can get in contact with you, and how long your turnaround is. Everyone wants something made just for them, their idea, so why not accomodate that?
Ok, Ok... so this is getting much, much longer than anticipated... so I'll close up with these last little tips:
If you can wear it.... WEAR IT! If you have clothing, for goodness sakes... wear it... you make tutus for kids? Wear one yourself! Jewelry? Wear it! If you make toys, stay by the front of your tent and play with the toy. Display, and Demonstrate. Two of the most important selling tools. Display properly, and Demonstrate the use of your products!
NEVER, talk on your CELL while a customer is in your booth! When a customer walks into your area... You stand up, You welcome them, You let them know you are available to help them... You can even butt in and start showing them your favorite items. They'll either hang around to see more, or become distant and not want you to bother them. Read their body language, and back off if necessary. BUT NEVER, EVER sit back down until they leave! Sitting Down, talking to a friend, or on the phone is the equivalent of leaving your booth. You may have left because now the customer knows you are no longer interested in them.
BE EXCITED about your merchandise! If someone asks you a question, get excited about it... tell them how much fun it is to do what you do! NEVER let someone know how you labored and almost threw that thing out the window, you hated making it and never want to make another! If you aren't interested in your merchandise, then why should the customer be? You took the time to make it, they are just checking it out!
When there isn't a customer in your booth. It's ok to take occasional breaks, but try to be active in your booth. Straighten merchandise, or clean up. Just keep moving and touching your merchandise. Don't look bored or worried. you have to look approachable and interesting. When soemone sees you straightening your merchandise, they'll be more apt to come in and see whats going on, than if you were hiding at the back of the booth, with your ipod in.
And the last thing I'll say is this:
No matter if you "made a killing" or lost money... ALWAYS BE PROUD OF YOUR ACCOMPLISHMENTS! You did a craft show! You were prepared! You got feedback from perfect strangers about your merchandise! YOU ROCK! It takes alot of guts to show people your handy work! But you did this! There are many, many crafters who would never imagine trying to sell their wares.... but you had enough confidence in yourself to give it a go! And if the first one bombs, who cares? You learned enough from your first show to know what to do differently at the next! And you will learn and one day you'll be so good at it, you could do it for a living!
So... I'm done now, and I hope this has helped! I've been in retail for the last 8 years or so, and I have learned alot from all the training and merchanding from my job. I try to incorporate that into craft show, and it has worked for me! I hope that this also works for you!
Subscribe to:
Posts (Atom)