CLICK HERE FOR FREE BLOGGER TEMPLATES, LINK BUTTONS AND MORE! »
Showing posts with label rockerchic. Show all posts

Friday, September 18, 2009

CST Sushi... So Rockin' Together!

CST... So Rockin' Together is a fun yearly theme to showcase items from one member's shop paired with items from other member's shops.


This weeks featured CST... So Rockin' Together was handpicked by Threads of Gray:


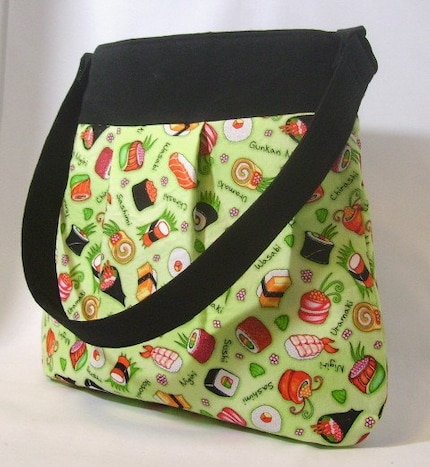
Threads of Gray's Favorite Take Out Handbag...


is "So Rockin' Together" with Rockerchic's "Rice is Nice but Sushi is Better" Necklace...


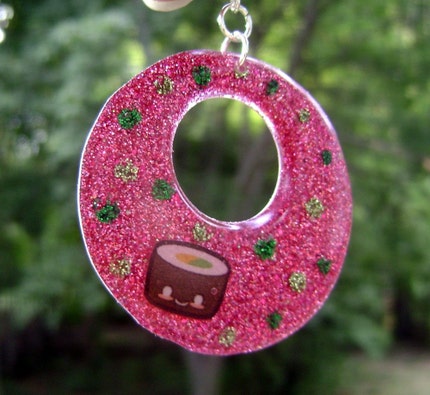
is "So Rockin' Together" with Cherries Rock My Socks's Sweet Sushi Hand Cast Resin Earrings...

Sunday, April 5, 2009

Cafemom Street Team Welcomes Artfire

Along with all the other Online Selling Venues for Handmade items. Cafemom Street Team is diving into uncharted waters and heading on over to Artfire!

We would like to welcome everyone to join up at our Street Team based on Cafemom.com and then join our NEW guild on Artfire!

Cafemom Streeet Team Guild is new and loves new members! You can find any of our amazing artisans on artfire by searching the tag "CST Guild". And I promise you the talent of these women will simply amaze you!

I See Red....and I like it!

Every week, We here at Cafemom Street Team have a "Theme Challenge". This challenge is a random topic, that our members submit items in their stores or sold items to compete in a group vote!

This Week our Theme was: RED

It was another tough week! I, personally, have a REALLY hard time voting!!

We had a ton of fantastic entries and as usual you ladies came through!!

Our winner this week was our very own fearless leader, Rockerchic, aka Kristie!

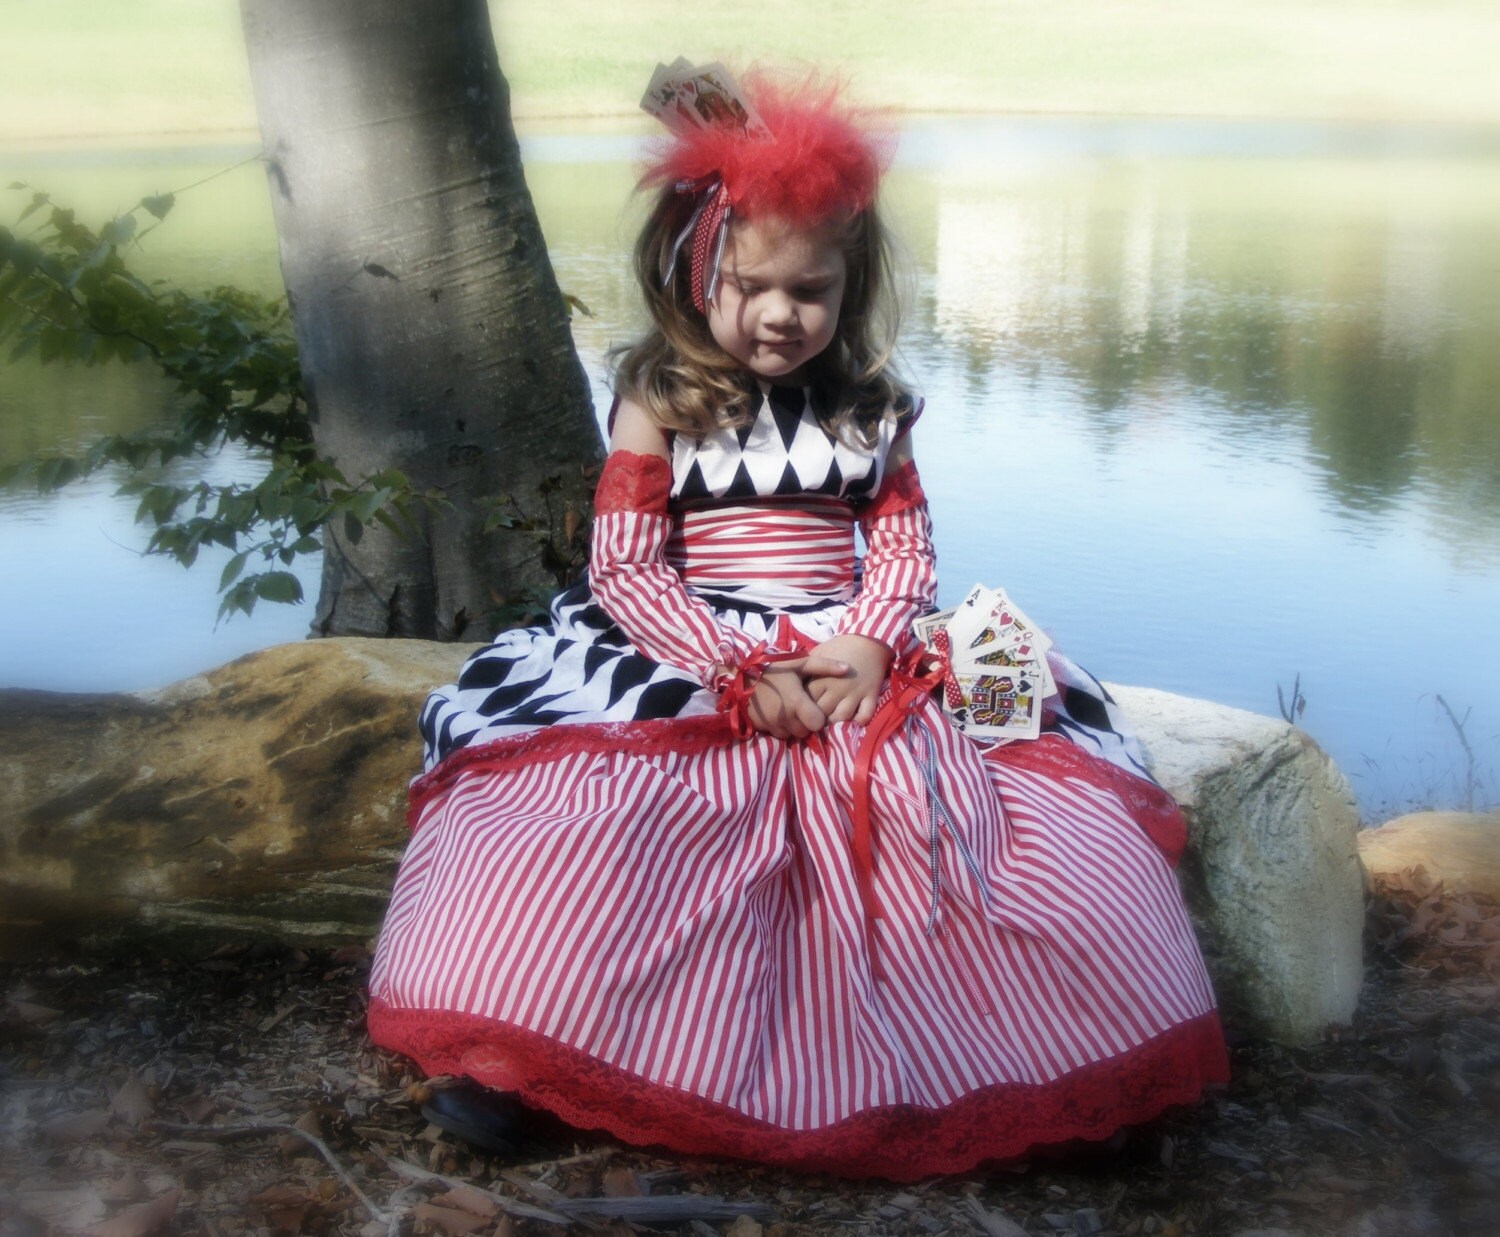
She won with her Very Cherry Punk Princess Dress!


Kristie has lots of super cool items in both her shops, Rockerchic.etsy.com and rockerchic.artfire.com

When you shop with Rockerchic you can party like a rockstar, or at least look like one!

Kristie has an awesome variety of resin jewelry, fantastic clothing, and polymer clay jewelry!

Kristie is not only our fearless Cafemom Street Team leader (where we have members on Etsy, Artfire, Hyena Carts, 1000Markets, and many more!), but she is a mom to the lovely little Emma Jo Jo and is rumored to be a goat mama to Oreo the goat... :)

Kristie is a busy mom like ALL of our awesome members and I'm not sure how she keeps it all straight!! As well as her shops, family life, and work life (outside of handmade work!), she also co-hosts a radio show on Blockhead Radio with, well, ME! :) You can catch us on Wednesday Nights at 9 pm Eastern on www.blockheadradiolive.com

Let's check out some of Kristies AWESOME work!

This is one of my personal faves (and if you keep an eye out tomorrow, it appears to be the winner of the Blockhead Radio Weekly Artisan Challenge!)


Queen of Hearts For Valentines Girls Costume or Dress up Dress


ABSINTHE FAIRY GREEN AND PURPLE TANK


So get your hiney over to both of Rockerchic's shops and get your rocker on!!

Totally rockin' threads!!


~~~~Amy

Wednesday, January 21, 2009

Tuesday, November 11, 2008

Rockerchic's Rockin' French Toast!


Here is my family's Favorite French Toast!

You can make this recipe out of ANY kind of sliced bread: White, Wheat, Whole Grain... But Raisin Cinnamon Swirl is my favorite!

Ingredients:

Bread Slices... two or three slices for each person your cooking for

Eggs

Canned Evaporated Milk

Sugar (or splenda)

Cinnamon

Pumpkin Pie Spice

Nutmeg


Optional toppings:
Powdered Sugar, Butter, Maple or Fruit Syrup, Honey...

Ok...

Mix all the ingredients in a shallow bowl. You'll want to use the measurement of one egg to two slices of bread.

Only add one teaspoon of canned milk for every egg you add...

Spices and sugar are to be added as you prefer, some people like subtle spices... But I overload mine!

After mixing that all up good, then you heat your pan... and use pam or butter (I use pam) to keep it from sticking... Only put it on med. low heat.

Soak each peice of bread in the mixture... coating each side...

Cook in the frying pan until done on each side and the middle of the bread is cooked throughly, it will be just a little stiff...

Then serve with breakfast meats, fruit, and cheese....

I hope your family loves it as much as my family does!!!


Thursday, October 9, 2008

Tips for a Great Craft Show!


So, you've signed up to do your first craft show? Great!

So, now what do you do?

Ok, so lets start with some simple basics.....

Have plenty of merchandise at all price points. If you have lots of lower priced things, people tend to purchase more than one of those at a time. Think of the "add on" sale. Make peices that coordinate each other so you can make even more money by selling things together as sets.

Have something for the kids. Even if your craft is not child specific. Bring at least 2 or 3 types of items for the kids. Parents are suckers for buying for the babies! A little necklace, or pillowcase dress, even a small doll, or a mug for them to drink out of, all of these are great ideas for kids. And they can range in price from very low to very high.

Have your Set up prepared, and ready to go for the day of the show! There is nothing more stressful than running around trying to find everything last minute for your show.
Here are some basics you'll need:
A Tent of course, At least 2 six foot Table, Table Covers, and displays for your products
These are the Big things.
And here is some advice on setting up a professional looking booth:

Remember, the goal here is to bring people IN, not have them walk by without giving you a second glance! So.... remember the horseshoe or U shape.... Set your tables up with two on the side and a smaller one in the middle of the back. This brings people in, giving you a chance to welcome them to your area, and them to get a hands on feel for your merchandise.

Use Risers. Set the Back of your booth up high, and then lower it as it gets to the front. This way there are some items eye level, and it also gives a nicer appearance. Appearance is a VERY KEY selling tool! You have worked yourself to death, getting ready for this show... Why would you just throw your stuff out there just any old way? Make it look good!

Advice on raising your items:
Use the boxes you brought your crafts to the show in, and put them underneath a table cover, then flounce the table cover around. You can also put larger boxes in the floor in front of the table, covered with table covers and topped with merchandise. This way you are utilizing all of your space and getting as much of your product out as possible.

And if you would like to buy professional looking displays there are lots of links online that you can buy these from. Or if your lucky like me, you know someone in the retail industry that you can simply borrow these displays from.

Ok, so now we have our merchandise, and we have our setup.... What else did we need to bring?
Here are some essentials, you'll be so glad you remembered to pack:
Lots of pens
Business Cards
Receipt Book
Scissors
Ribbon or string
Extra Price Tags
Duct Tape
Safety Pins
Calculator/Adding Machine
A small table to work on
A money apron, not box... keep your money on you...

And speaking of price tags: Remember to price all of your merchandise! Some people may be interested in your items, but are afraid to ask for the price. If you price each one, or have a Clearly printed or Typed Sign then you will have a better chance of selling your items.

How far are we now? We have merchandise, we've priced it, we have our set up, and our extra stuff.... We sound like we're ready for anything right?

WRONG!!!!!

The first, most important rule of doing your own craft show:
SPEAK TO EACH CUSTOMER!
Young and Old.... You MUST speak to each customer! Tell everyone hello, welcome them to your booth. Let every customer know that you are there to answer any questions they may have.

Also, pick out your favorite piece. Anytime you can, you show that piece to customers in your area. They may say: "My, your things are beautiful" and you reply with: "Let me show you my absolute favorite!"

Strike up a conversation with this! If they don't particularly like this one, find out what it is about it they don't like, then you have a better idea of what they are looking for and you can go from there.

And if you find the perfect item for them, and they simply can't afford it, give them your business card at that point. It may also be helpful to let them know that you sell it higher online, and if they got it now, it will be X dollars less and no shipping fees.

Remember to be polite! Say yes ma'am, no sir, please and thank you. These are your customers, and you would like to take home a little of their money.... Also, you would like to hear good feedback about your craft too... So, being nice is a vital part of selling your items!

And make sure you let people know a little bit about the creation process..... "Did you know it takes me 7 hours to make each of these!?!" Or "I make all of my own dyes for this". Anything that they can tell their friends, "I got this from rockerchic, she sells on a website called Etsy, and she said it takes 7 hours to make each one of these dolls" And then, always make sure, you let people know your special order policy.... You can have 52 dresses, in 51 different colors, And surely the ONE color you did not bring, is the ONLY color anyone wants that day! Be sure you let everyone know that you are able to do these things, how they can get in contact with you, and how long your turnaround is. Everyone wants something made just for them, their idea, so why not accomodate that?

Ok, Ok... so this is getting much, much longer than anticipated... so I'll close up with these last little tips:

If you can wear it.... WEAR IT! If you have clothing, for goodness sakes... wear it... you make tutus for kids? Wear one yourself! Jewelry? Wear it! If you make toys, stay by the front of your tent and play with the toy. Display, and Demonstrate. Two of the most important selling tools. Display properly, and Demonstrate the use of your products!

NEVER, talk on your CELL while a customer is in your booth! When a customer walks into your area... You stand up, You welcome them, You let them know you are available to help them... You can even butt in and start showing them your favorite items. They'll either hang around to see more, or become distant and not want you to bother them. Read their body language, and back off if necessary. BUT NEVER, EVER sit back down until they leave! Sitting Down, talking to a friend, or on the phone is the equivalent of leaving your booth. You may have left because now the customer knows you are no longer interested in them.

BE EXCITED about your merchandise! If someone asks you a question, get excited about it... tell them how much fun it is to do what you do! NEVER let someone know how you labored and almost threw that thing out the window, you hated making it and never want to make another! If you aren't interested in your merchandise, then why should the customer be? You took the time to make it, they are just checking it out!

When there isn't a customer in your booth. It's ok to take occasional breaks, but try to be active in your booth. Straighten merchandise, or clean up. Just keep moving and touching your merchandise. Don't look bored or worried. you have to look approachable and interesting. When soemone sees you straightening your merchandise, they'll be more apt to come in and see whats going on, than if you were hiding at the back of the booth, with your ipod in.

And the last thing I'll say is this:
No matter if you "made a killing" or lost money... ALWAYS BE PROUD OF YOUR ACCOMPLISHMENTS! You did a craft show! You were prepared! You got feedback from perfect strangers about your merchandise! YOU ROCK! It takes alot of guts to show people your handy work! But you did this! There are many, many crafters who would never imagine trying to sell their wares.... but you had enough confidence in yourself to give it a go! And if the first one bombs, who cares? You learned enough from your first show to know what to do differently at the next! And you will learn and one day you'll be so good at it, you could do it for a living!

So... I'm done now, and I hope this has helped! I've been in retail for the last 8 years or so, and I have learned alot from all the training and merchanding from my job. I try to incorporate that into craft show, and it has worked for me! I hope that this also works for you!
Sunday, July 27, 2008

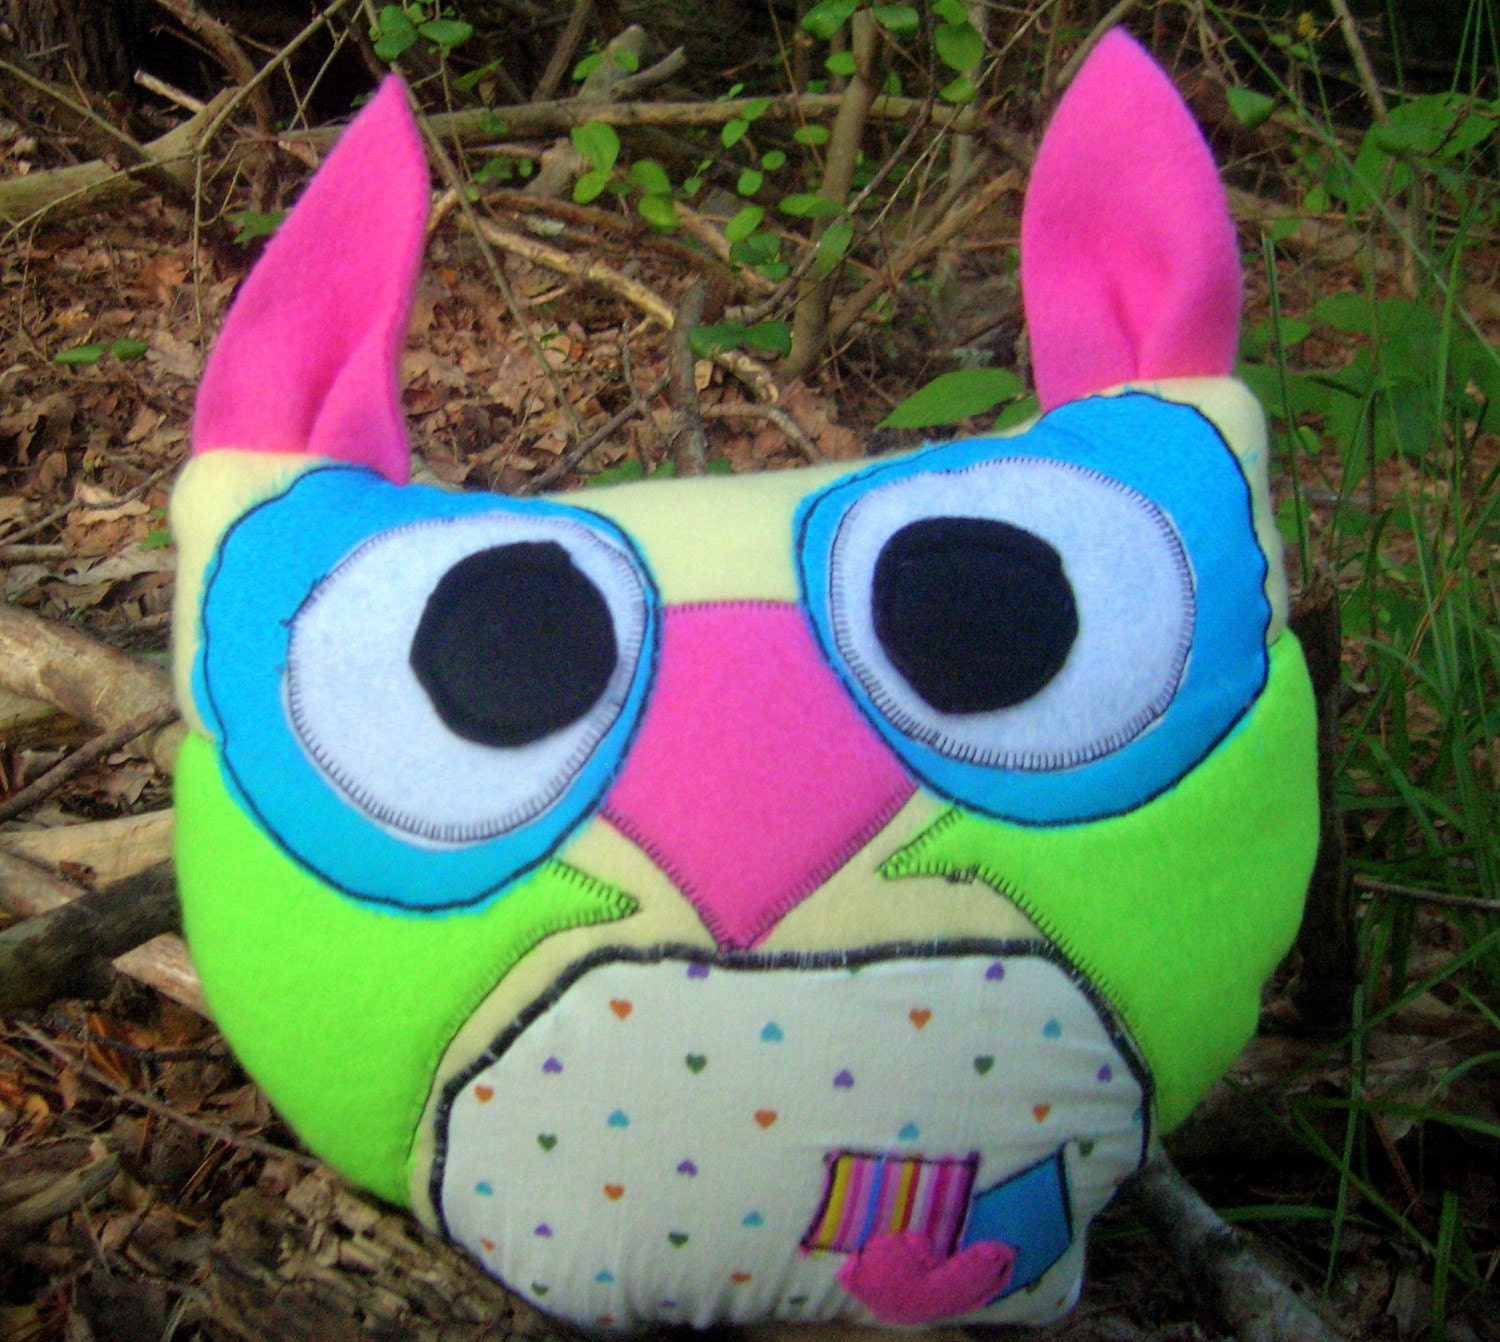
You Could WIN! Patches the Psychedelic LOVE OWL!

We here at Cafemom Etsy Moms, would like to know WHY you buy handmade!

And to find out, we're willing to send you some Good Luck in LOVE!

To Win Patches, the Psychedelic Love Owl, Please leave a comment stating WHY you buy handmade. Put as much or as little as you would like in your entry. We (the panel of CEM admin) will pick the winner based on the BEST answer!


Da Rules:
Anyone can enter
You can only enter once per screen name
You MUST leave an email address or Etsy username to be contacted by if you do win
You can only enter HERE... on the CEM Blog, No where else!
Contest will run through August 2nd 2008 at Midnight
Contest Winner will be announced August 3rd 2008 by 3:00pm EST

Heres Patches:

Patches the Psychedelic Love Owl

Patches the Psychedelic Love Owl
zoom

Hi!

Meet Patches! He's the Psychedelic Love Owl!

Patches is made from Fleece, Felt, and Cotton Fabrics. Handmade by me on my sewing machine and by hand. Patches measures 12 inches across and 9 inches from top to bottom.

He has a pink "tail" with patches on his backside, and hearts and patches on his tummy too!

Patches is a great gift for young or old. There are no buttons or items that will pose choking hazards for young children and he's a great companion for older kids... or adults for that matter!
Patches will make a great gift for that friend that needs someone to keep a watchful eye on their love life! Or needs good luck in that area!


**Patches in Donated by rockerchic over at rockerchic.etsy.com****


Monday, May 26, 2008

Repurposed Pillowcase Style dress from An Old Shirt by Rockerchic


So many people love to repurpose! I know that I do! Heres a great way to show Dad how much you care on Fathers day!

You can take an old shirt that belongs to him, or Grandpa for that matter, and let your little princess wear it on Father's Day!

Heres what you need:
Iron and Ironing board
Sewing Machine
Serger
Seam Ripper

Materials:
Old Shirt (long or short sleeve)
Spool of coordinating ribbon

Start out with your shirt laying flat. It's probably better to pick out a shirt that is of a more feminine color, but make sure it is a man's shirt... women's shirts are darted and curved and mens are more straight, that makes it easier to make the dress from.

The first thing your going to do: Take off the pocket. Remove the pocket, carefully so as not to put holes in your shirt, so we can move it and place it lower on the shirt later.

The Second thing: Cut the sleeves off. Cut below the line where the seams are, go ahead and cut them both off.

This is what your shirt should look like now:
Now, it's time to measure the length of your dress. Take your tape measure and mark where you want the length to be, from the bottom. I wanted mine to be 19 inches long from the neckline to the hem. So I measured 20 inches, marked, and cut across (where the arm holes are) to the other side.

Make sure you iron the fabric now, before you do anymore cutting or sewing. Unbutton the shirt and iron all the wrinkles out. Make sure you iron the pocket too, even though it isn't attached.


You should at this point have something that looks pretty simple to finish up.

We're going to put cases in for ribbons to tie at the shoulders. And put the pocket back on.

Lets go ahead and put the pocket back on:
Find a spot that you would like to have the pocket. I usually put mine near the bottom so there easy to put things in. Some people like to keep them in the breast.

Find a good spot, then pin your pocket in there. Sew it back on with your sewing machine.

Now, we're ready to start making those casings, and finish things up.

Serge the top of the fabric now, make sure you serge inside those armholes too.

After the entire top is serged, now it's time to take it to your sewing machine.

We're going to finish the armholes first. Roll the armholes inside to the wrong side of the fabric, and sew those down.

After your done finishing the armholes, now it's finally time to make the casing.

Take the top back to the ironing board, heat up your iron, and fold and measure down one inch, then press it with the iron.


After both sides of the casing are pressed, you can sew them down now. Just sew along where you had previously serged.


After you sew down your casing, now it's time to put in the ribbon.

Pick a ribbon that coordinates well with your fabric. I picked a white with a floral print and a little yellow in it.

Cut two equal lengths of ribbon, maybe about 2 to 3 ft each.

Attach a large safety pin in one end of the ribbon, and pull it through the casing. Do the same with the other side too.

When you have the ribbon pulled through, you can sew a little line in the middle to keep the ribbon from coming out.

Personally, I don't do that b/c I like to change up the ribbons after awhile.

When there in, take a lighter and barely torch the ends of the ribbon. This will keep the ribbon from fraying.

When you've done that, then it's time to tie up the shoulders.

You should be finished at this point... we are leaving the bottom of the dress as the original shirt.

Here is the finished product:


I hope you enjoy making your pillowcase dresses as much as I do! If you have any questions, I'll be glad to help you out!

Tuesday, April 29, 2008

A true Story of Inspiration by Rockerchic

A True Story of Inspiration, My Grandmother Ruth Lusk


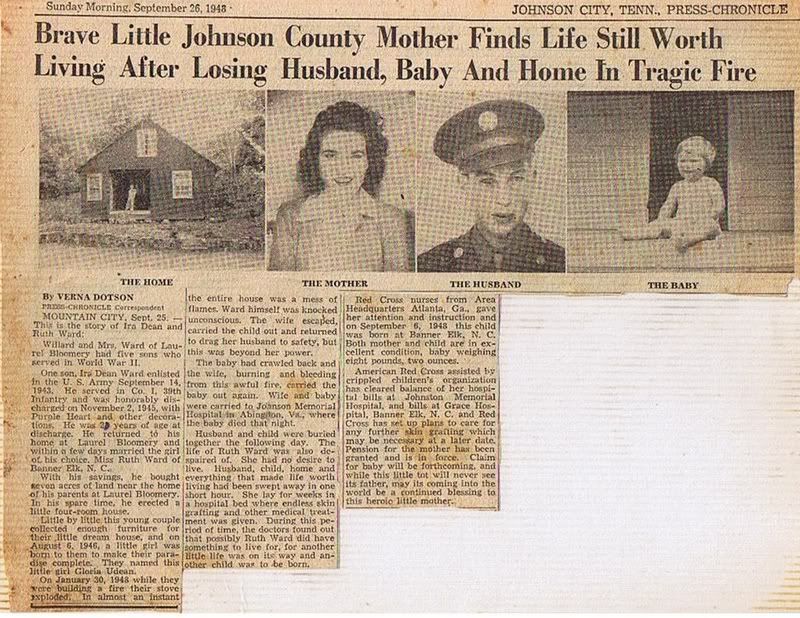
This newspaper article is one of my most prized posessions! I know it's a little hard to read every word of the article but, i'm just lucky I still have it. It is the true account of a tragic event that happened to my Granny, and her first family.

My Granny married a man named Ira who just finished service in WWII. They built a small house in the Tennessee Mountains, and scraped together enough money to furnish it. They were very happy with their lives. Not long after their marriage they had a little girl, Gloria Udean Ward.

When Gloria was around 18 months, Ira was starting a fire the woodstove and the stove exploded. My Granny said he was putting kerosene on hot coals. Granny got Gloria out of the house first thing and went back in to save Ira. Which she was unable to do because, he was beyond saving. When she got back out she realized Gloria had followed her back in. She went back in and got Gloria out again.

My Granny was very, very badly burned, and Gloria had inhaled a lot of smoke. They were taken to a hospital in Virginia where Gloria died that night. My Granny had no reason to live, and had given up. She lost everything in one night. The bodies of Ira and Gloria are both buried together in the same casket in the mountains. And they share a headstone.
Granny did not get to go to their burial because of the extensive surgeries she was undergoing for her burns.

After months of skin-grafting surgeries, the doctors told her not to give up. They had discovered she was pregnant! Granny had no idea she was pregnant with my aunt Johnnie. (Named Johnnie because Ira wanted their next "son" named Johnnie) Now my Granny had something to live for.

Since Johnnie's birth, Granny married my Grandfather, Fred. They had four more children. Boy, 2 girls (one is my mom), and another boy. They had four grandchildren before his death in the early eighties. My Granpa Fred died the day my mom told him she was pregnant with Kelly. Since his death they have had an additional 6 grandchildren and 5 great-grandchildren with another due next year!

Granny is 81 years old now and full of life! She loves to watch Emma for me and loves to travel and see her family. My Granny has never remarried but has lived an extremely full life. She has so much family to love and that love her too!

Whenever I feel bad or I feel like life isn't fair, I think about my Granny. I'm sure she didn't feel like life was fair to her either by taking away everything she ever loved. But just look at the beautiful family given her in return.

I know that the she will always miss her first family and her beautiful baby Gloria and nothing will ever replace that. As you know, everything happens for a reason. We can't figure these things out when they happen but one day you realize why and that brings you peace. I am glad that my Granny has a happy life now and I love her so much!

I hope that reading this story will give you the strength to get through those rough times as it does me.

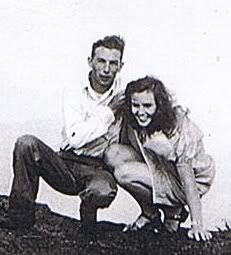
Ruth Ward and Ira Ward


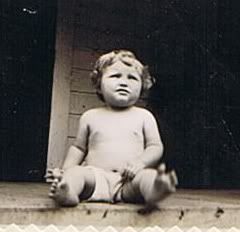
Gloria Udean Ward (around 18 months old).


Ruth Ward and Fred Lusk pictured below (my grandfather)


Ruth Ward Lusk (Granny Boo) Summer of 2006

Saturday, April 26, 2008

Pumpkin Pancake or Waffle Recipe by rockerchic.etsy!

BTW, These are the bomb with organic blueberry syrup! I'll include a recipe for orange syrup to put on them too!

Makes 10 waffles or 15 pancakes.

What you need:

2 cups all-purpose flour (or whole wheat flour)

2 tablespoon brown sugar

1 tablespoon baking powder

1/2 teaspon salt

1/2 teaspoon pumpkn pie spice (or more)

1 1/2 cups fat-free milk (or soy milk)

1 cup canned pumpkin (actually 1/2 the can)

1/2 cup refigerated or frozen egg product, thawed (I used 2 organic eggs)

2 tablespoons cooking oil (or pam)

1 recipe orange syrup (optional)

1 orange, peeled, sectioned (optional)

What you do:

Mix all the ingredients together (except oranges, and syrup). Stir well. Make sure batter is correct consistency. If you want waffles batter should be thick enough. If you want pancakes add liquid (milk, or water) to make thinner. Then cook like regular pancakes or waffles.

I made the pancake version (b/c I don't have a waffle-maker), and they turned out really good! Even the baby ate them.

Orange syrup:

In a small saucepan stir together 1 cup orange juice, 2 tablespoons honey, 2 1/2 teaspoons cornstarch, and 1/4 teaspoon ground cinnamon. Cook and stir until thickened and bubbly. Cook and stir for 2 minutes more. Serve warm. Makes about 1 cup.

I didn't make the orange syrup so lemme know if you guys like them!

Sunday, January 20, 2008

Guess how many buttons, win a $25 Gift Certificate to Rockerchic.etsy.com!

Here is your chance to win a $25 Gift Certificate to rockerchic.etsy.com!

The entrant that comes closest to the number of buttons in the jar, wins! If you guess the exact amount the Gift Certificate DOUBLES! to $50!!!!!

So, Guess away!

RULES:
Only guesses that are submitted on our blog (comments) are accepted as official entries.
The contest ends, Saturday, January 26th 2008. Cafemom Etsy Moms Members ARE allowed to enter as are ANY entrants...
ALL entrants MUST leave a way to be contacted if they are to win... either etsy store name or email address....

This is a LARGE MOUTH KERR Canning Jar filled with ALL my buttons.... Please guess only once per person.


So, how many do you think????

Saturday, January 19, 2008

Flower incased TuTu tutorial by Rockerchic

Flower incased TuTu Tutorial:

This tutorial and tutu is one that I made up, so it isn't "by the book". You may find better ways to make the same thing with better results....
Here is how I make them:

Buy about 3 or 4 colors of tulle. 3 or 4 yards each... it depends on how full you want the tutu.

lay the layers on the floor...still folded in half as they were on the bolt. Lay down one layer, then keep putting the others on top. When they are all layed straight... fold the layers in half lengthwise. Then pin them so they will remain straitht when sewing.

You can either at this point: make a waistband from another fabric and sew it to the top of the tulle... or just sew about an inch below the top fold to make a casing for elastic or ribbon.

When your done sewing your casing you can thread the elastic or ribbon through. Sew the elastic together or you can tie the ribbon... (the ribbon wiast is adjustable).

Then.. the top layer of tulle should still be folded at the bottom... you can cut the fold out of the OTHER layers of the skirt but KEEP THE TOP LAYER FOLDED we will use this to put our flowers in.

When you have done that... you should have your flowers or whatever you'd like to put in your skirt ready... you can put silk flowers, ribbon, bows, bells, well... anything you can think of...

Place the items in the top layer through the back that is open... they will move around but you should place them in the area you would like them to be. When you have done that.... take clear polyester thread or light fishing line and hand sew the top layer together in the back to prevent the flowers from falling out.
At this time you can sew the other layers together by hand or choose to leave them seperated in the back... either way the skirt will still function properly.

When you have sewn everything up... this should be what the finished product looks like:


If you guys want to try these, and need help... just ask! I will be glad to help you out!!!